
Staff Resources
Many types of equipment is used in CERT., as CERT. is based on Crystal and Reactor Core research. This section will have three parts, a Crystal Research and Storing part, a Reactor Core Research and Monitoring part and Other Equipment, Uniform and Machinery part (like generators). Staff are trained and are given information on how to use each bit of equipment, and, if they have any issues at all, they are asked to consult their Department Head Supervisor, or the guidebook, found at each desk or in each room (depending on the room type).
Crystal Research and Storing

This is an ‘Experimental Workplace’. Each member of staff of the Crystal Research Team has their own workplace, including a guidebook and some equipment. Other equipment can be found in storage or in the room which they are working in.
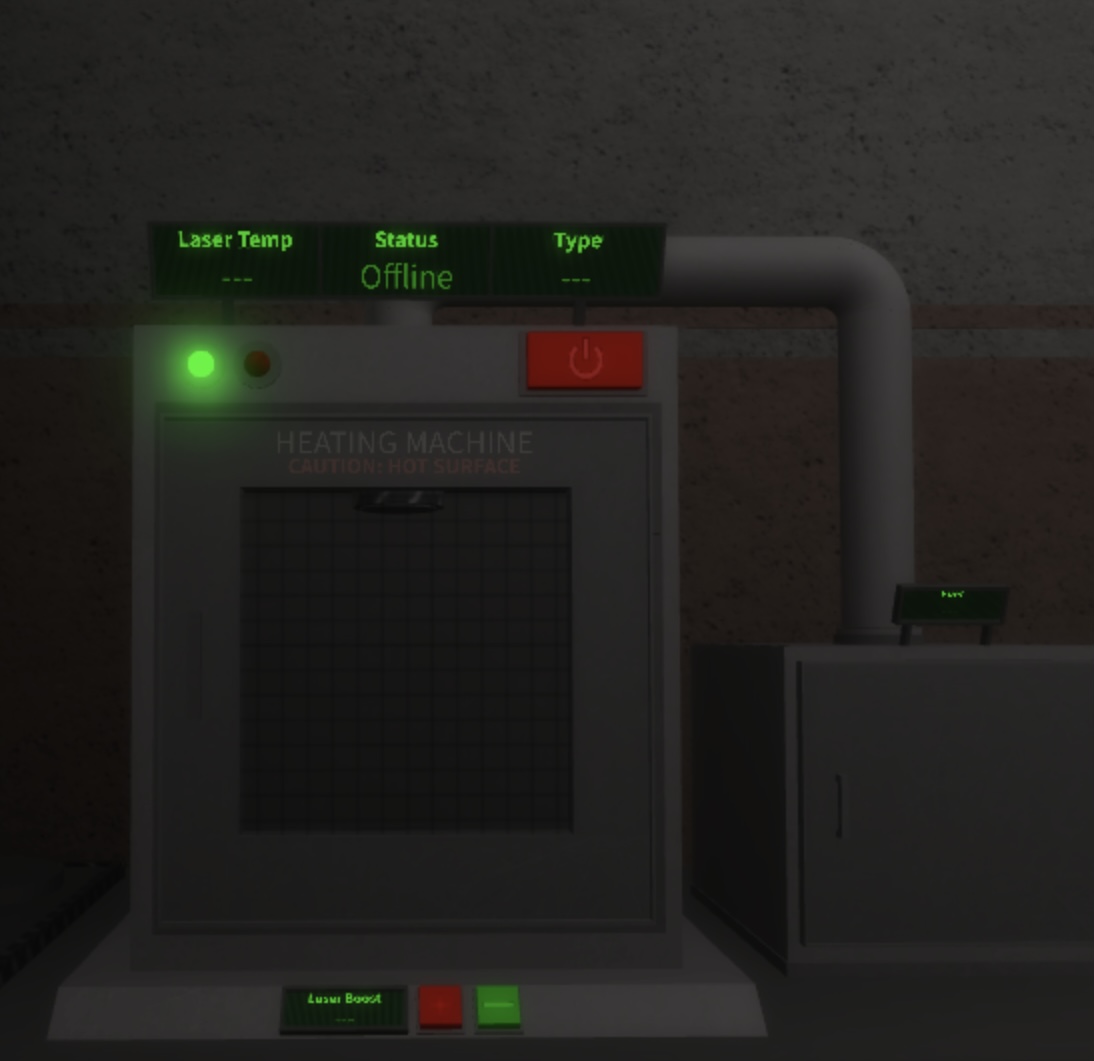
This is a ‘Heating Machine’. This is used to test crystals and heated vials, to make different types of reactive crystals which are sent to the Crystal Testing Lab for experimentation.
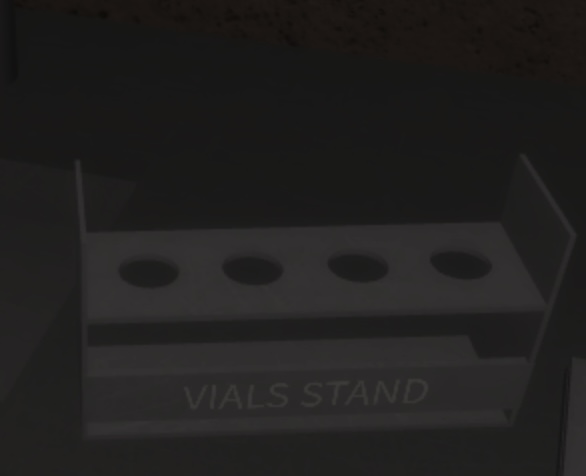
This is a ‘Vials Stand’. This is used to hold full Vials of Liquid upright, before you use them.
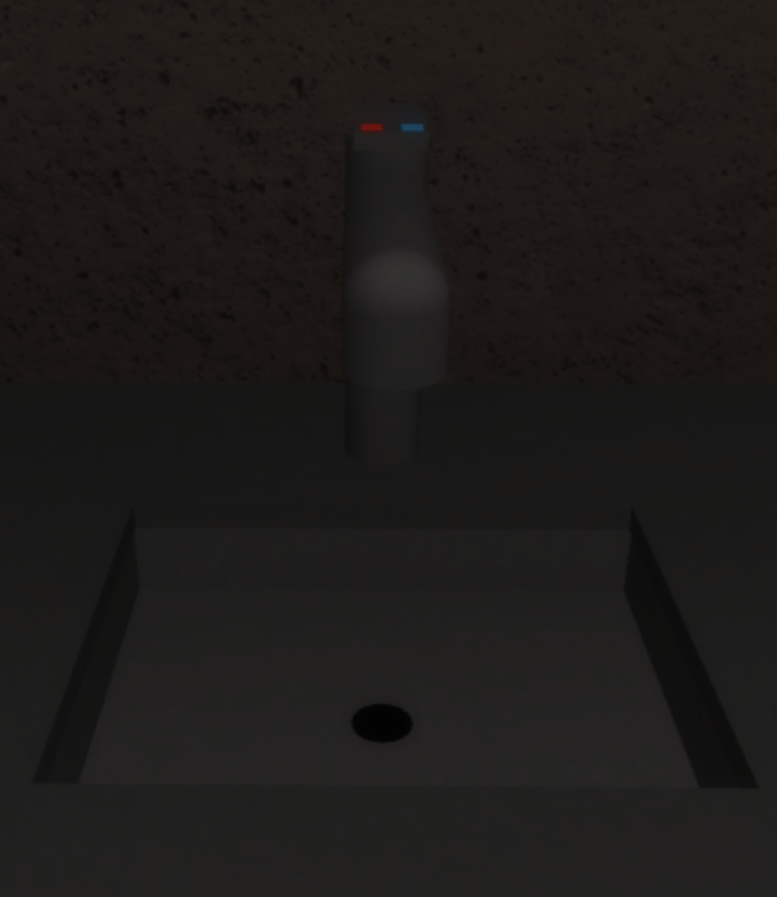
Self explanatory but this is a ‘Sink’. There is one located on every ‘Experimental Workplace’ in case of burns, or just general washing hands.
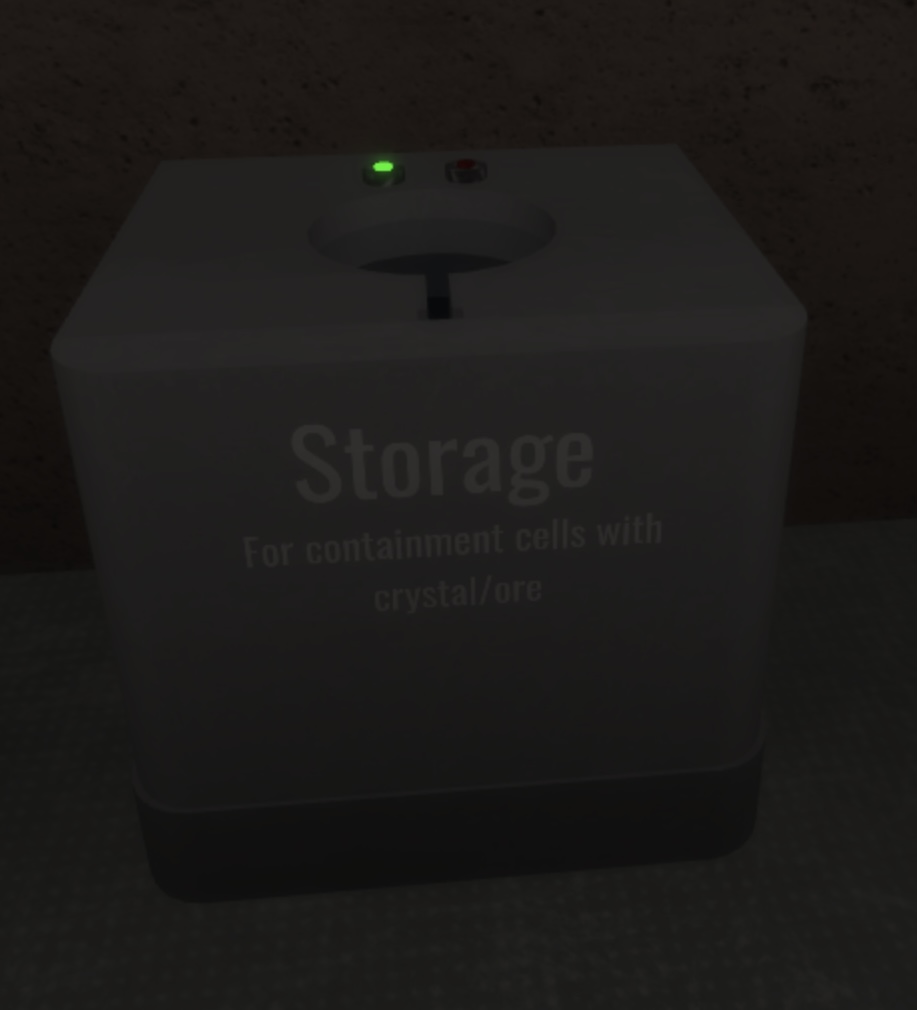
This is a ‘Storage Bin’. This sends Containment Cells with Crystals in them for experimentation, down to Storage which can be requested by the Crystal Testing Lab at any time.
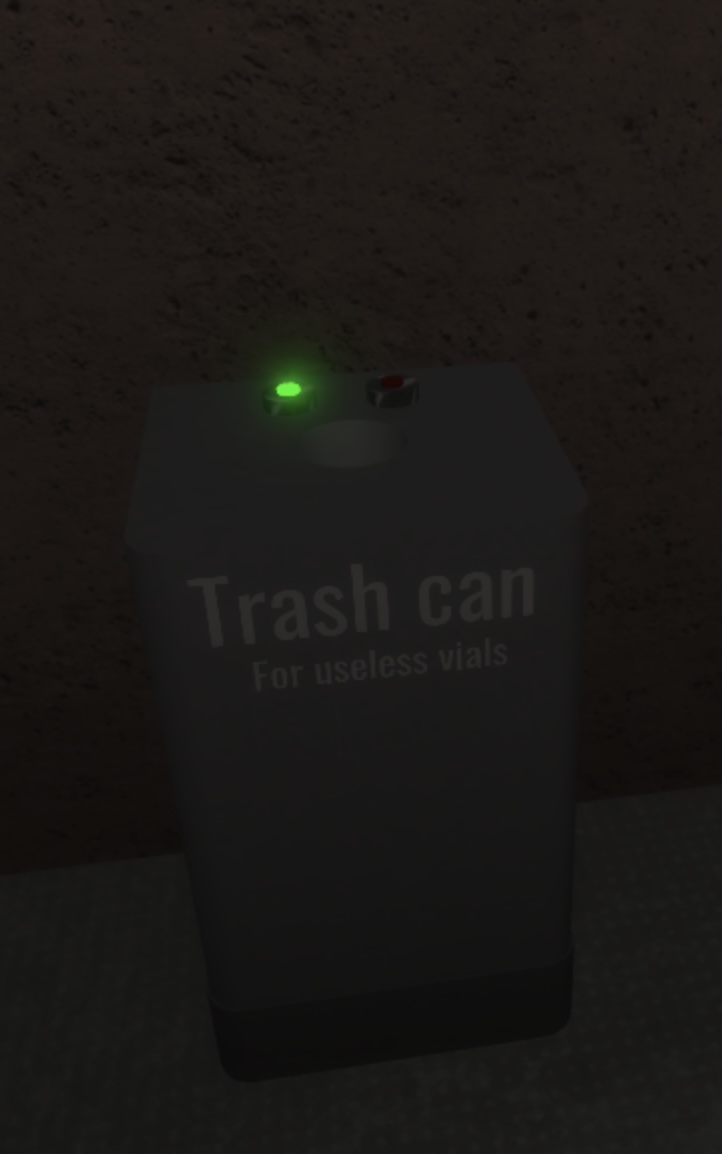
This is a ‘Bin’ or ‘Trash Can’. This is where you place useless Vials of Liquid which cannot be used for experimentation.
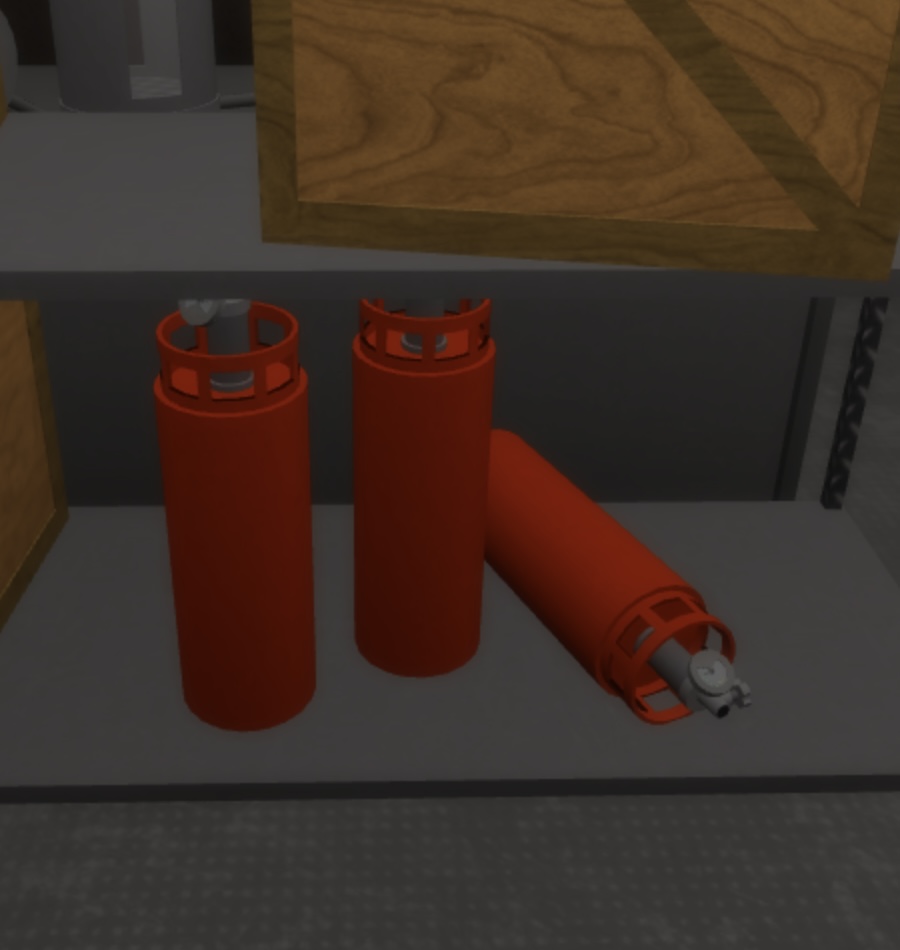
These are ‘Propane Tanks’. At the start of each shift, these are at each ‘Experimental Workplace’, filled. These are used as fuel for the Bunsen Burner to heat Vials of Liquid for experimentation. You may need to replace your Propane Tank if it runs out.
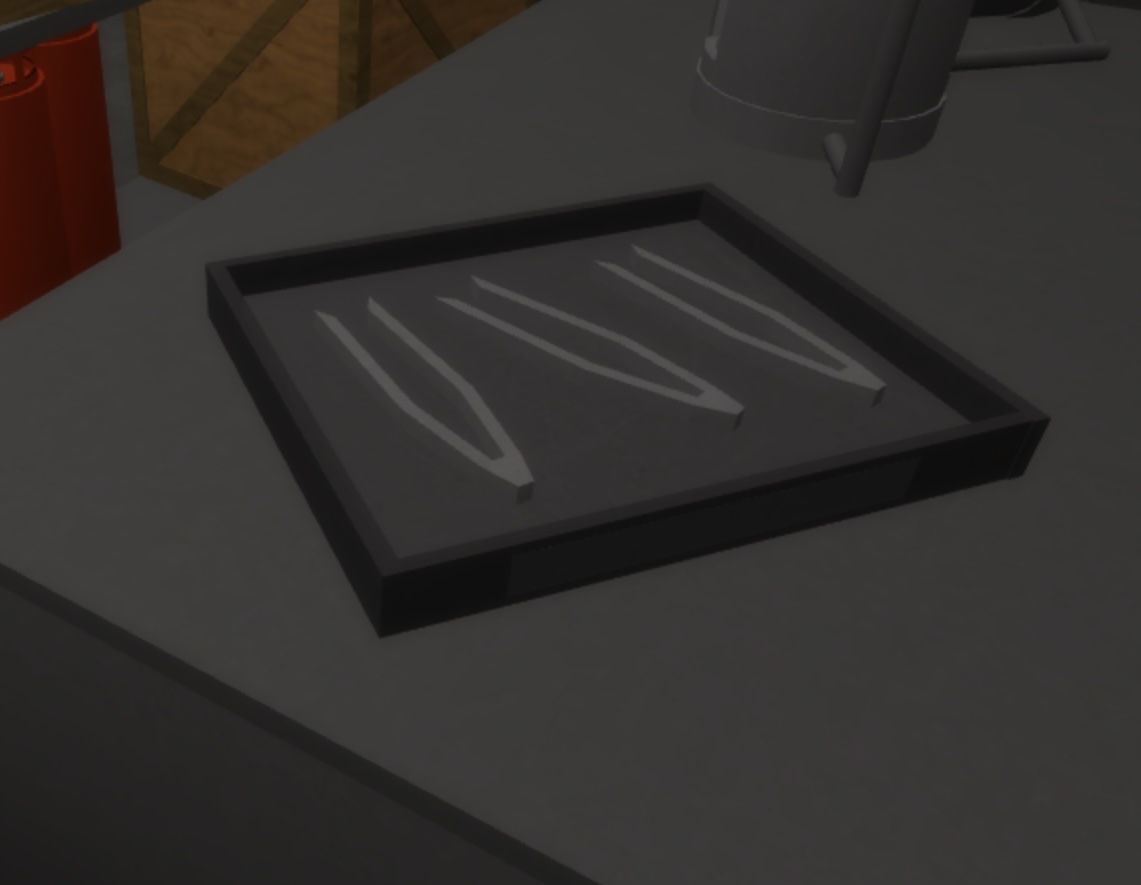
These are ‘Tweezers’. There should be enough tweezers for one staff member in the sector, but if there isn’t, there are more in storage. Tweezers are used to hold Vials of Liquid at all times. Hands touching Vials of Liquid is forbidden, as it contains chemicals that could be dangerous. Go see a member of the Medical Team if you have come in contact with chemicals.
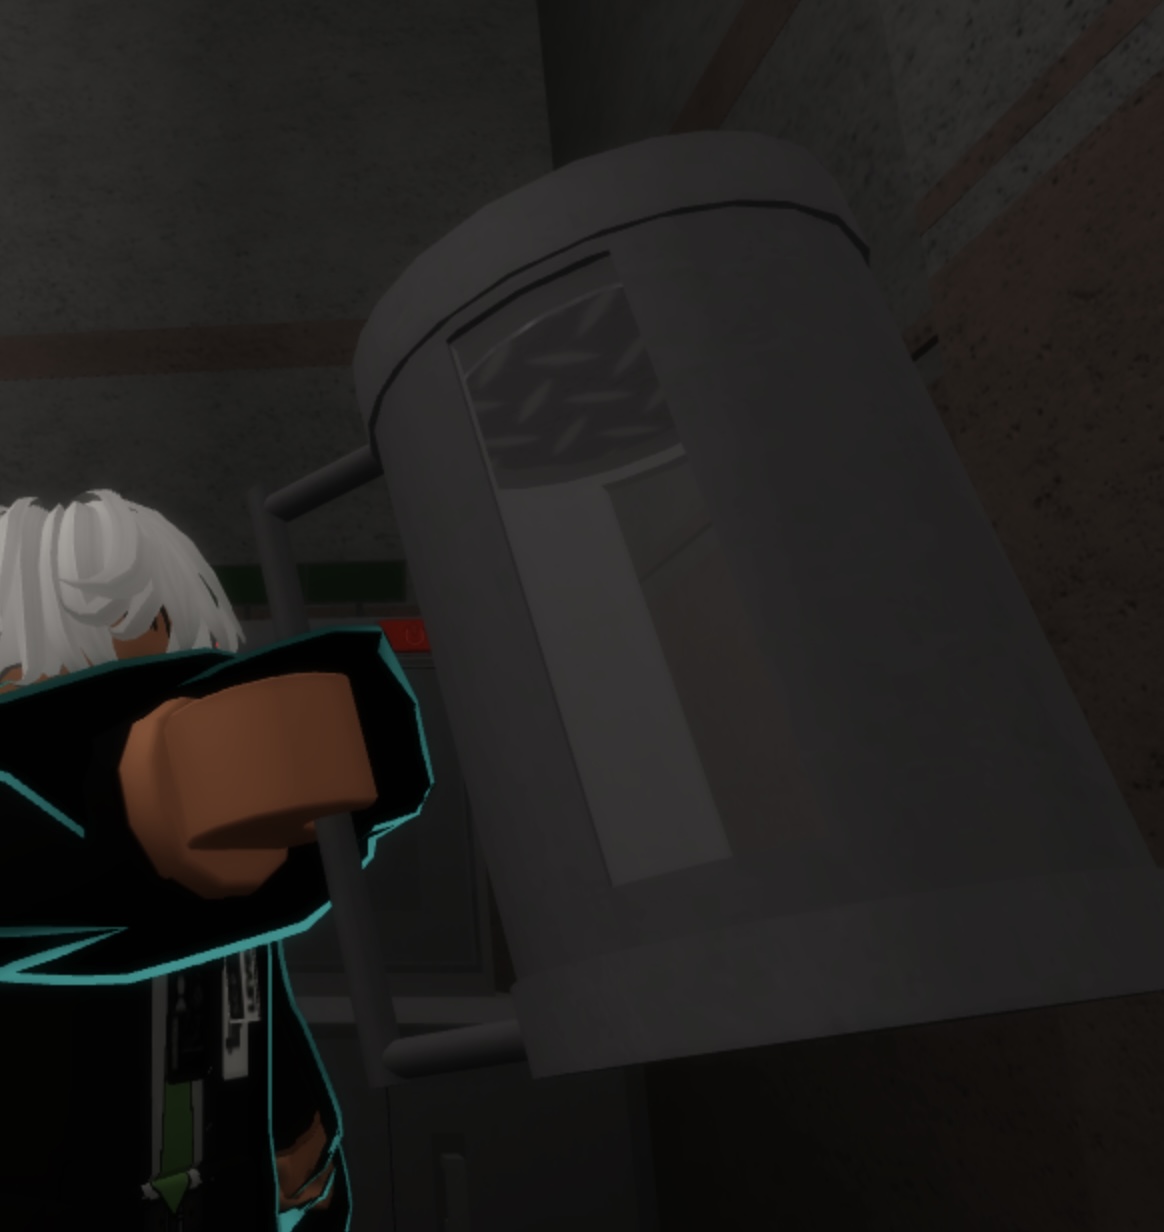
This is a ‘Containment Cell’. Containment Cells are used to handle crystals when you get them out of the Crystal Cave, safely. Crystals should always be in Containment Cells, and shouldn’t be taken out unless you are experimenting with it.
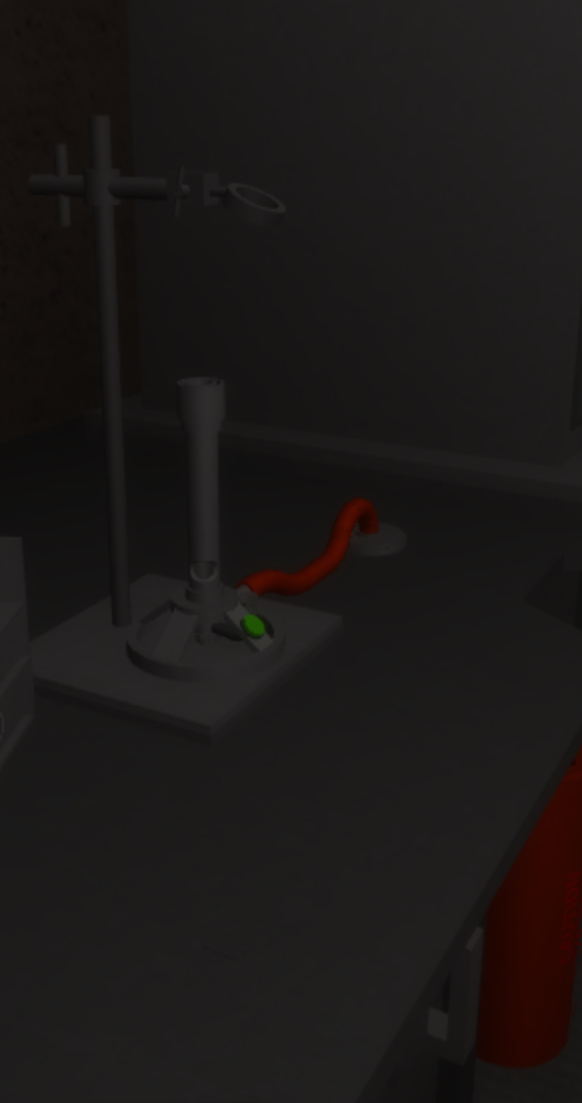
This is a setup ‘Bunsen Burner’, including a ‘Ring Stand’ with an attached, filled Propane Tank. This is used for heating Vials of Liquid, and the supply for the gas os the Propane Tank. The ‘Ring Stand’ holds the vial and the ‘Bunsen Burner’ heats the vial.
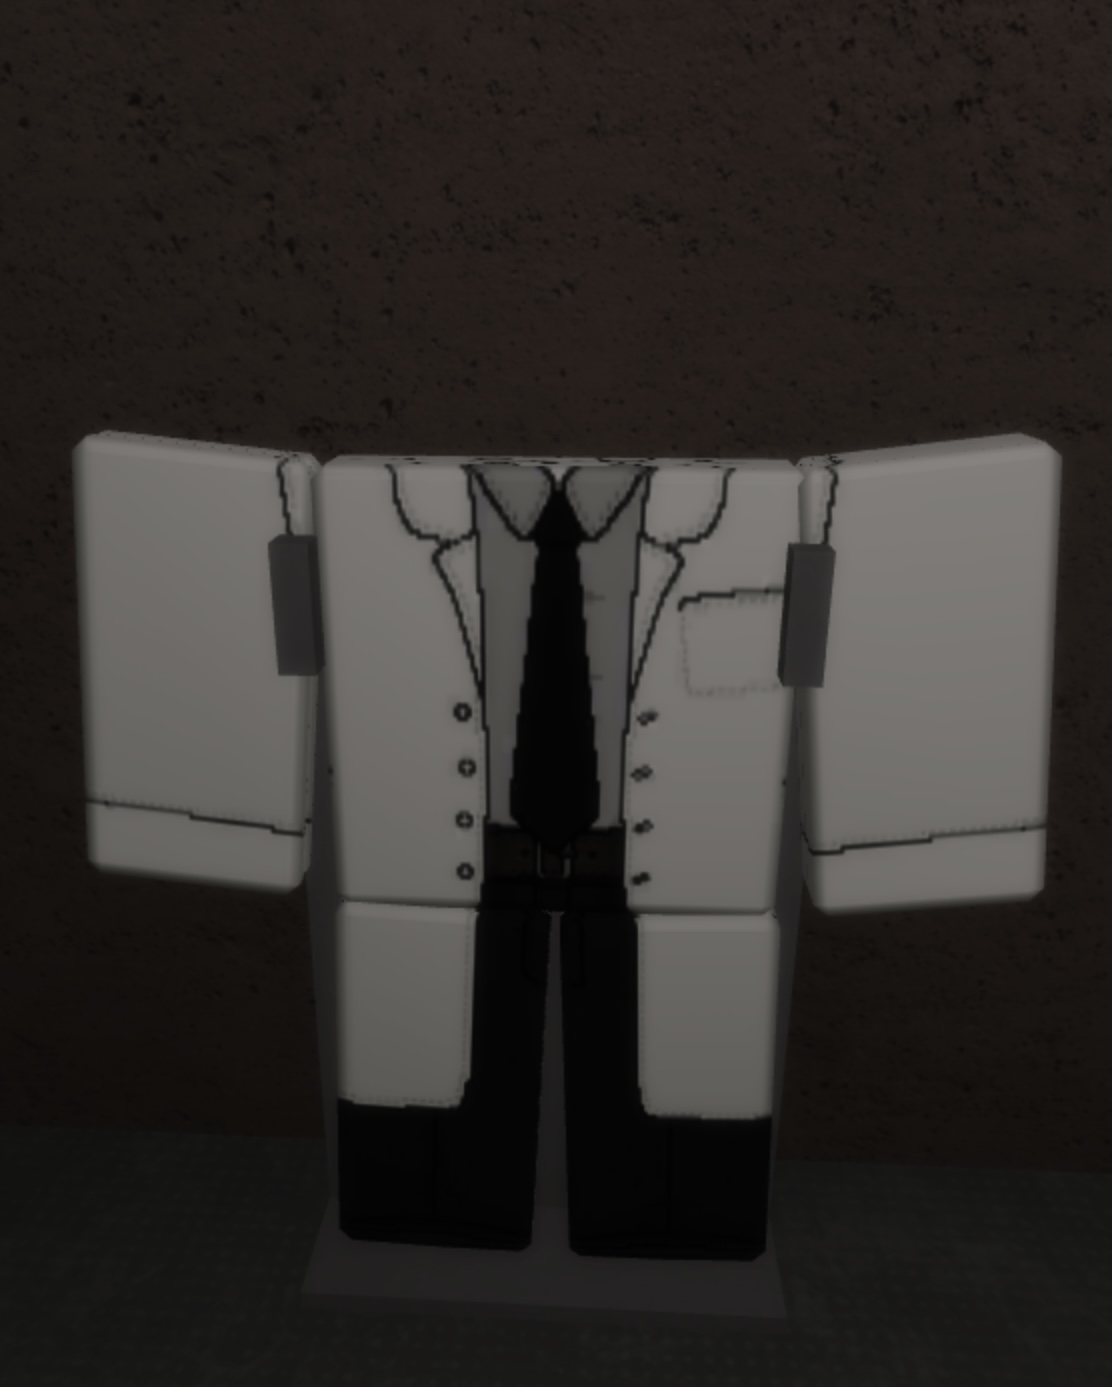
This is a ‘Scientist Uniform’. It’s also recommended to wear gloves and safety glasses. This may differ from facility to facility, but they look very similar.
Reactor Operators and other staff members have different uniforms.
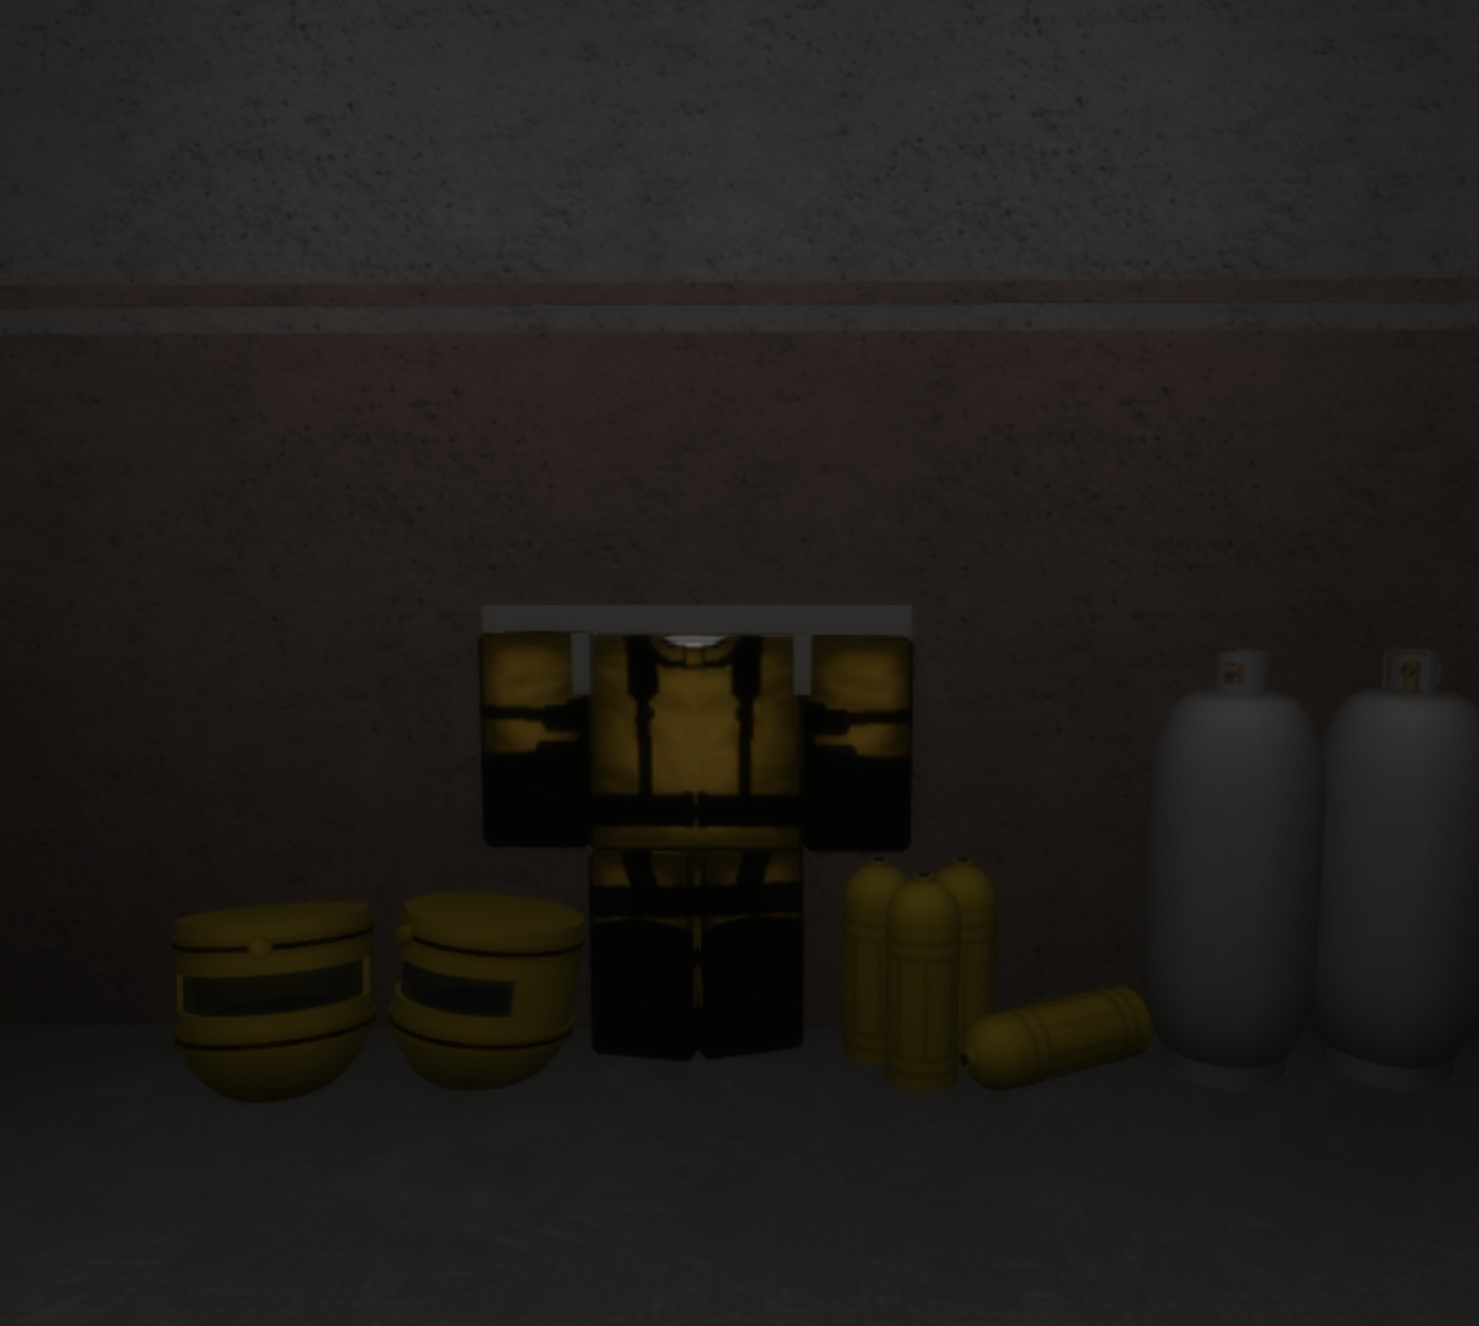
This is a ‘Scientist Hazmat Suit’. This is to be used in the Crystal Cave only. It is attached with a full oxygen tank. This differs from the ‘Reactor Operator Hazmat Suit’, because this has an ‘S’ on both sides.
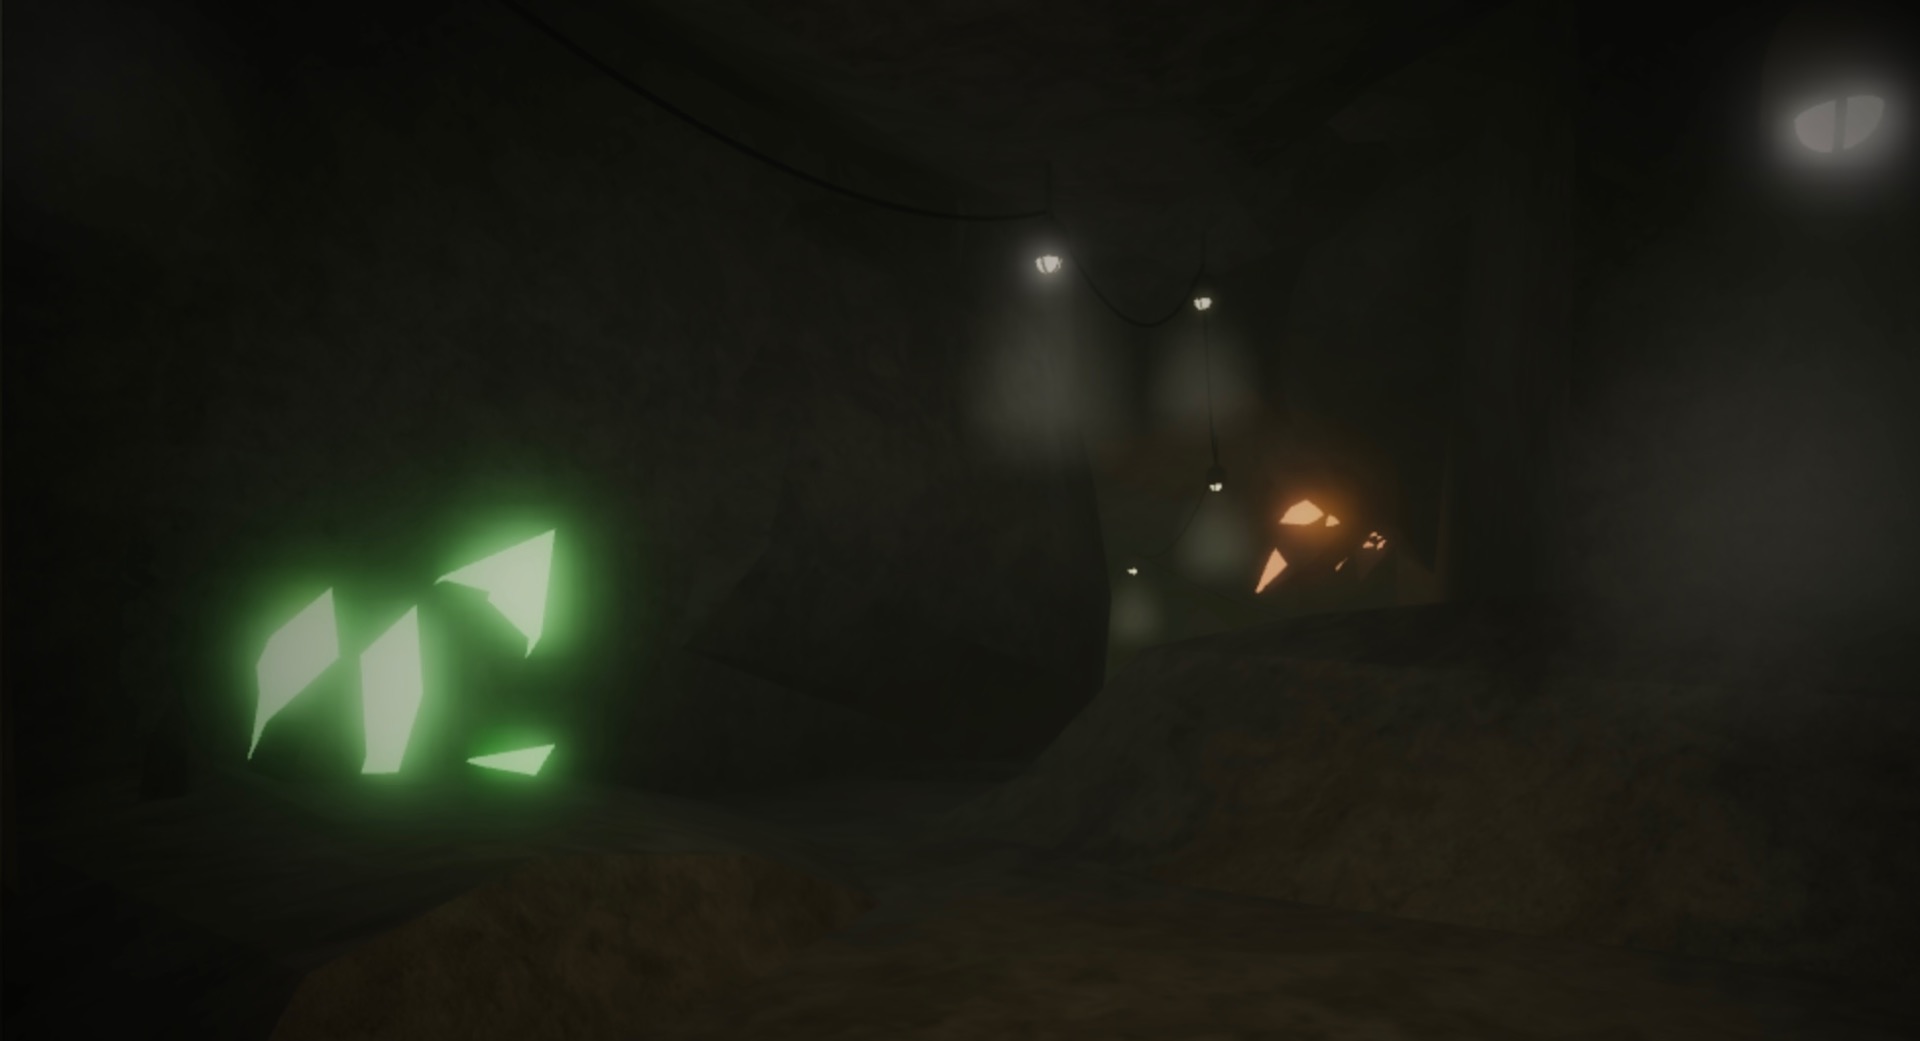
This is the ‘Crystal Cave’. There is at least one in every Crystal Experimental Facility. Here, Scientists can gather crystals which are scattered across the Crystal Cave. The Crystal Cave can scatter from a tiny area in the facility to the entire facility, twice over.
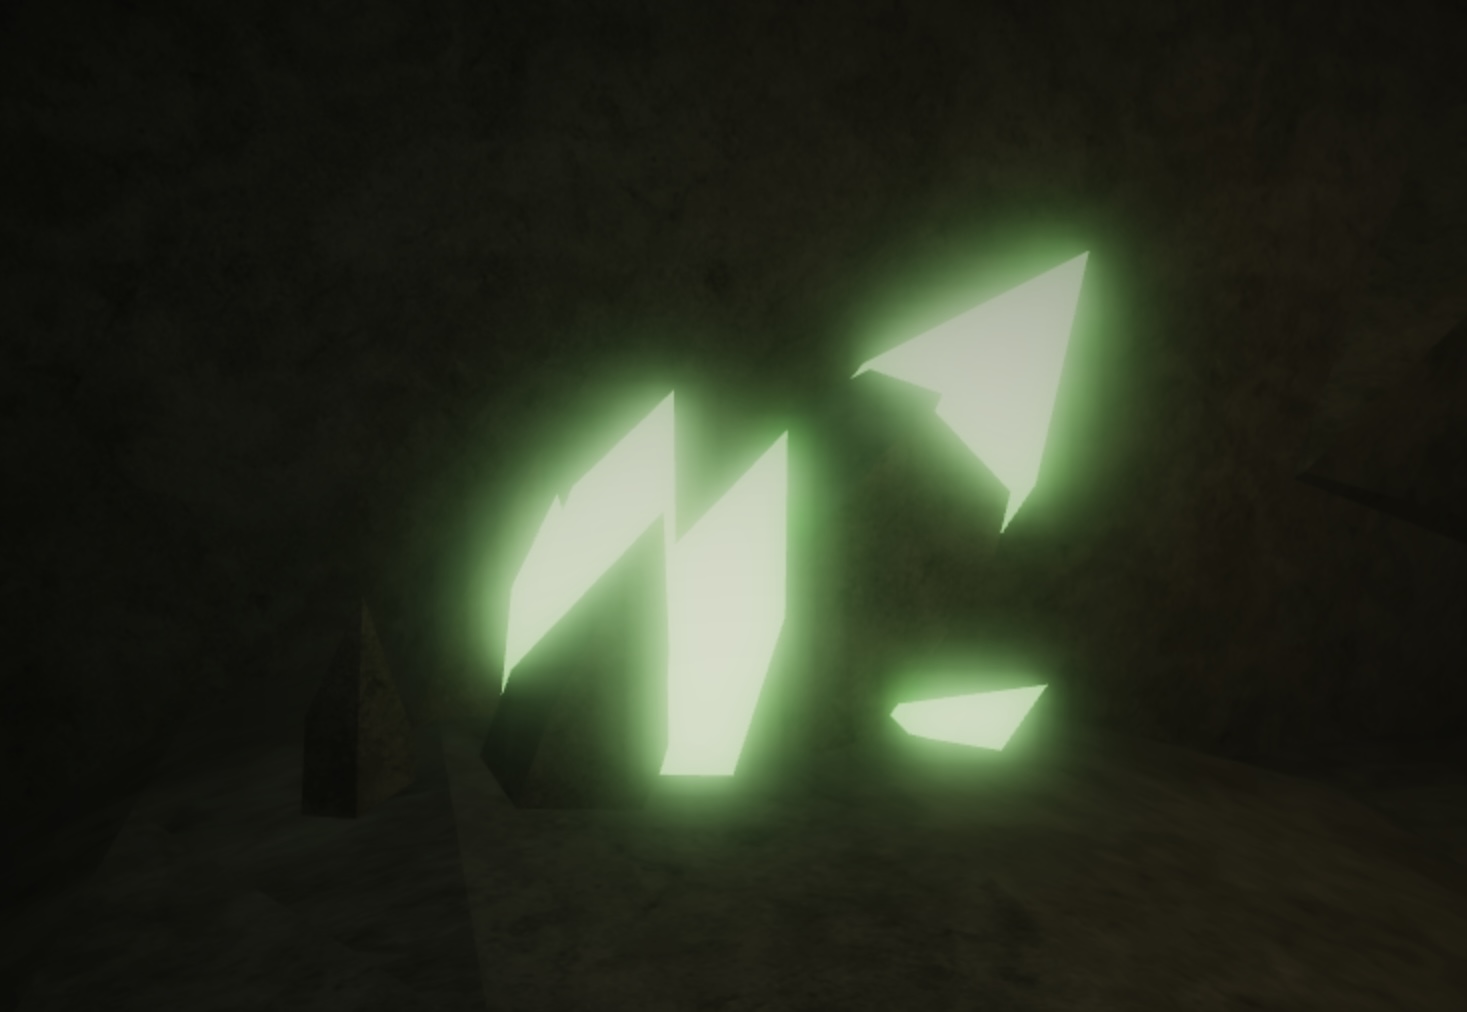
This is a ‘Crystal’. Obtainable from the Crystal Cave with a Containment Cell, Scientists can use a Crystal for experimentation.
I mean, what else will you use it for?*
*Please, do not eat the crystal. A Scientist tried that. We had to call his death ‘an experiment gone wrong, error made by Scientist’. A very fatal error it was…
Reactor Core Research and Monitoring
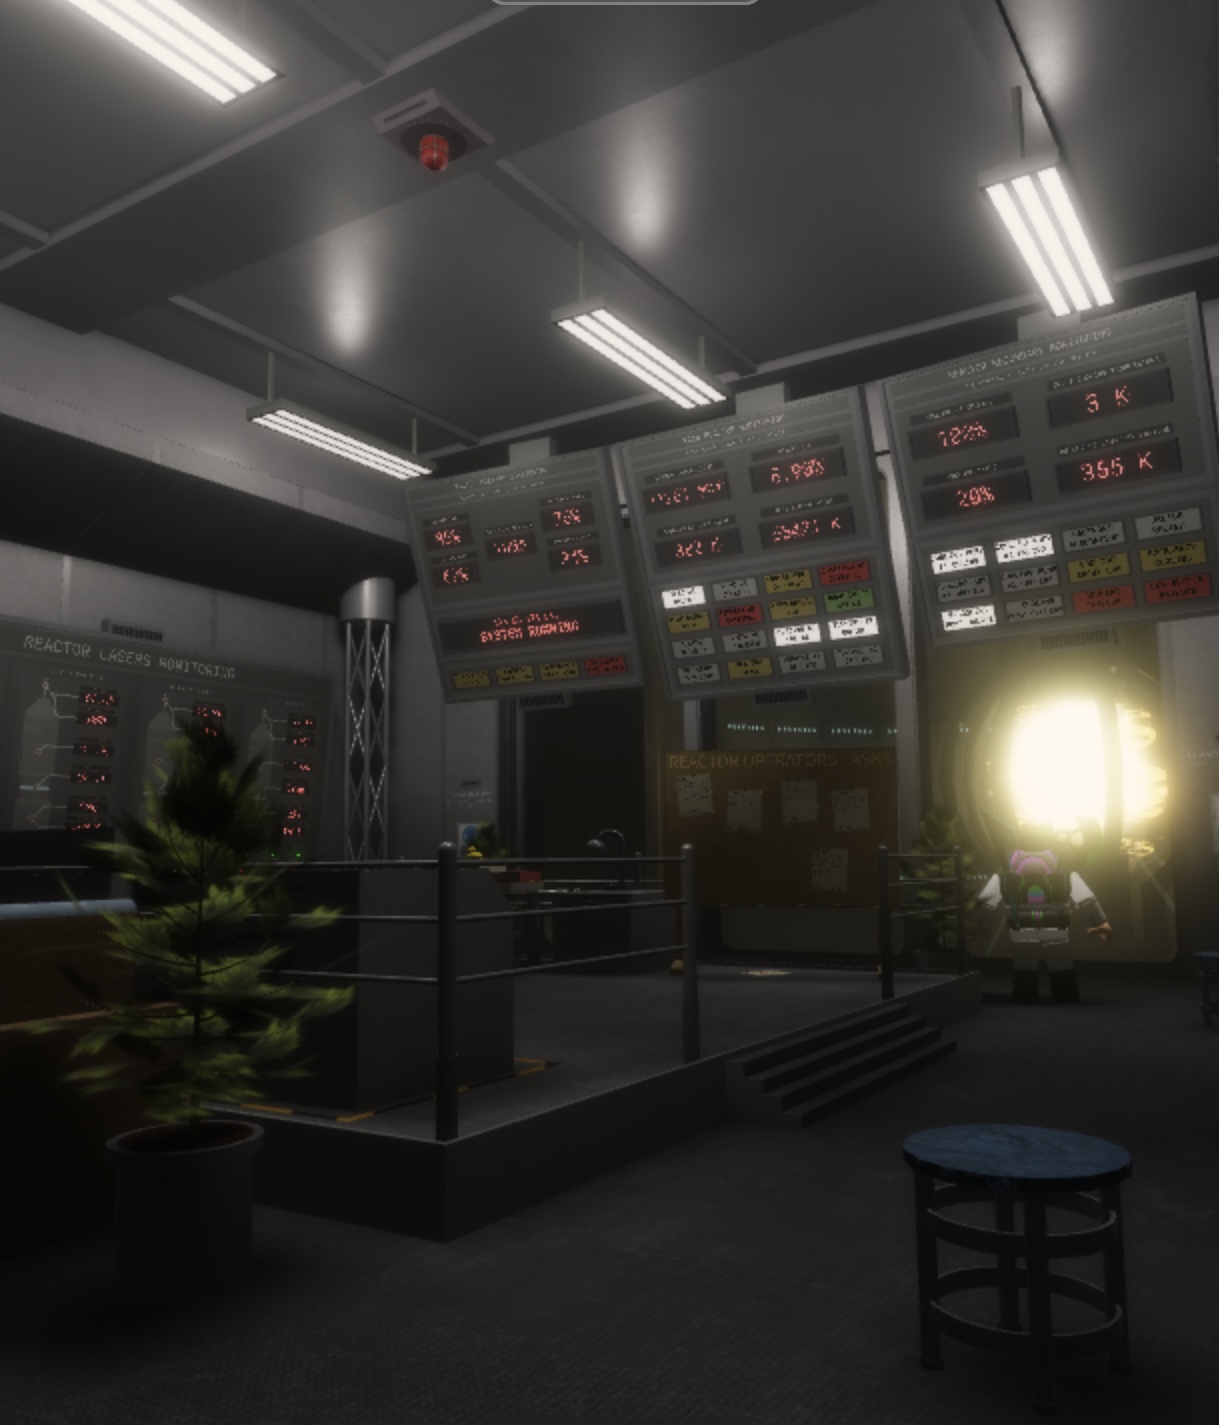
This is the ‘Reactor Control Room’. Here, ROs can operate the reactor and all of it’s parts. There should be at least 2 ROs, on-duty or on break, in the room, ready for anything to happen at any time.
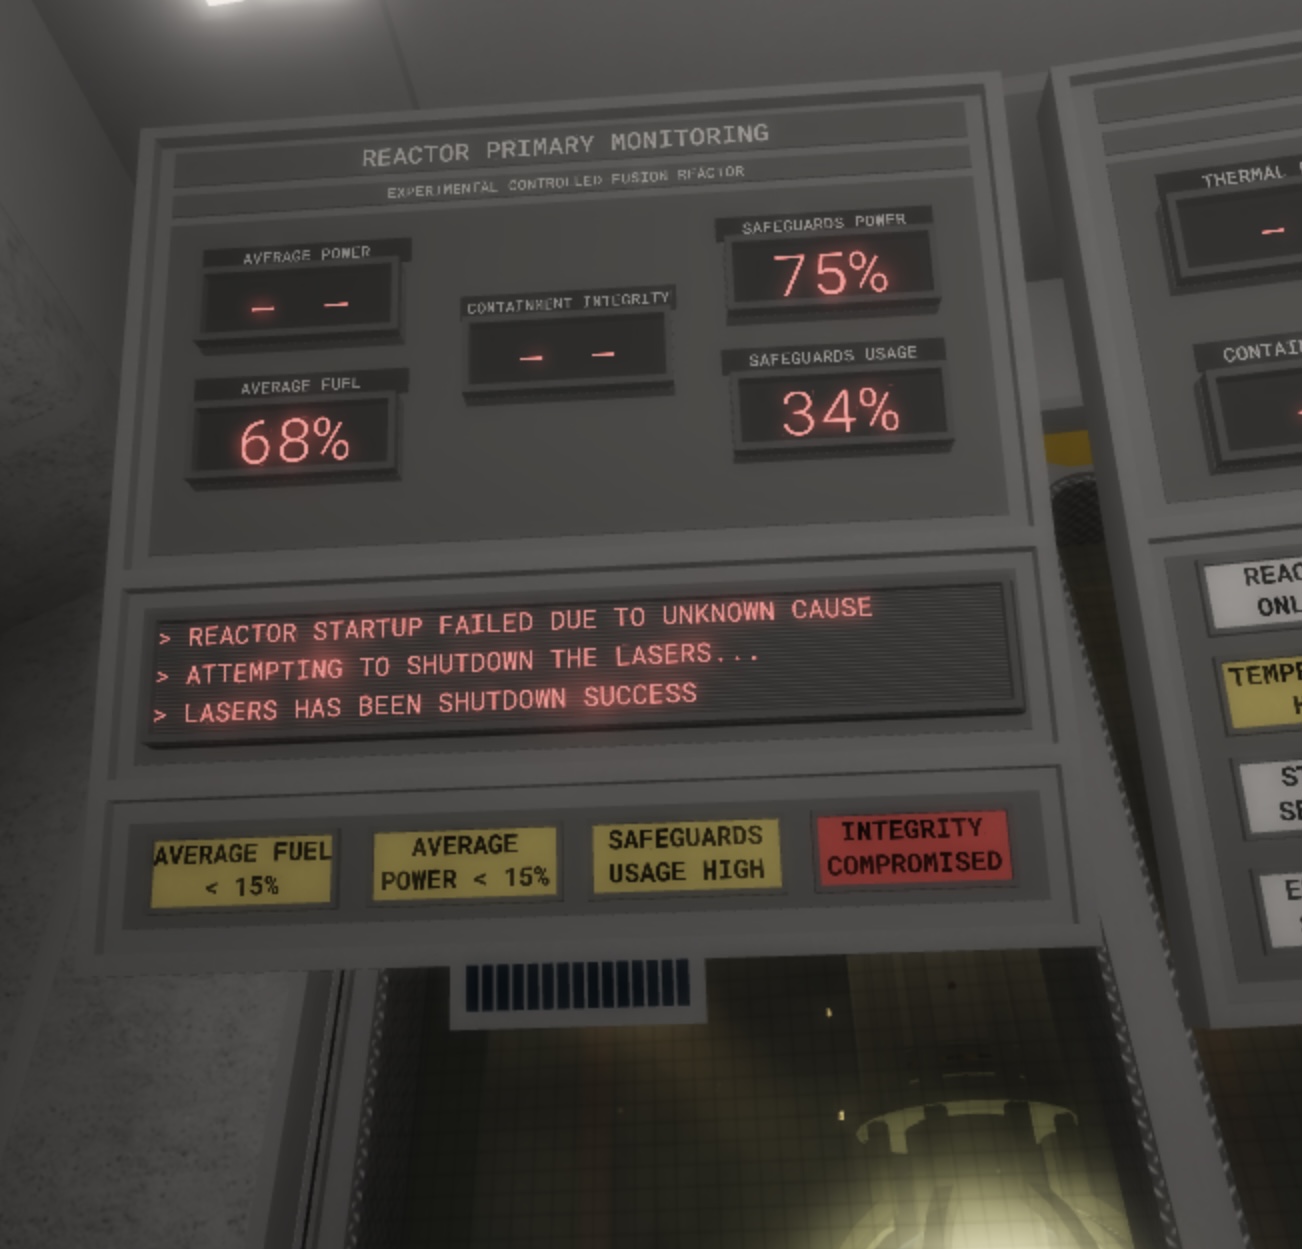
This is the ‘Reactor Primary Monitoring’ board. This is the first of three of the main boards you need to keep an eye on whilst an RO. This shows you information about the reactor (on the third part), and information such as Average Power, Average Fuel Level, Safeguard Usage and Safeguard Power. You will see flashing lights on the bottom which gives you crucial info as well.
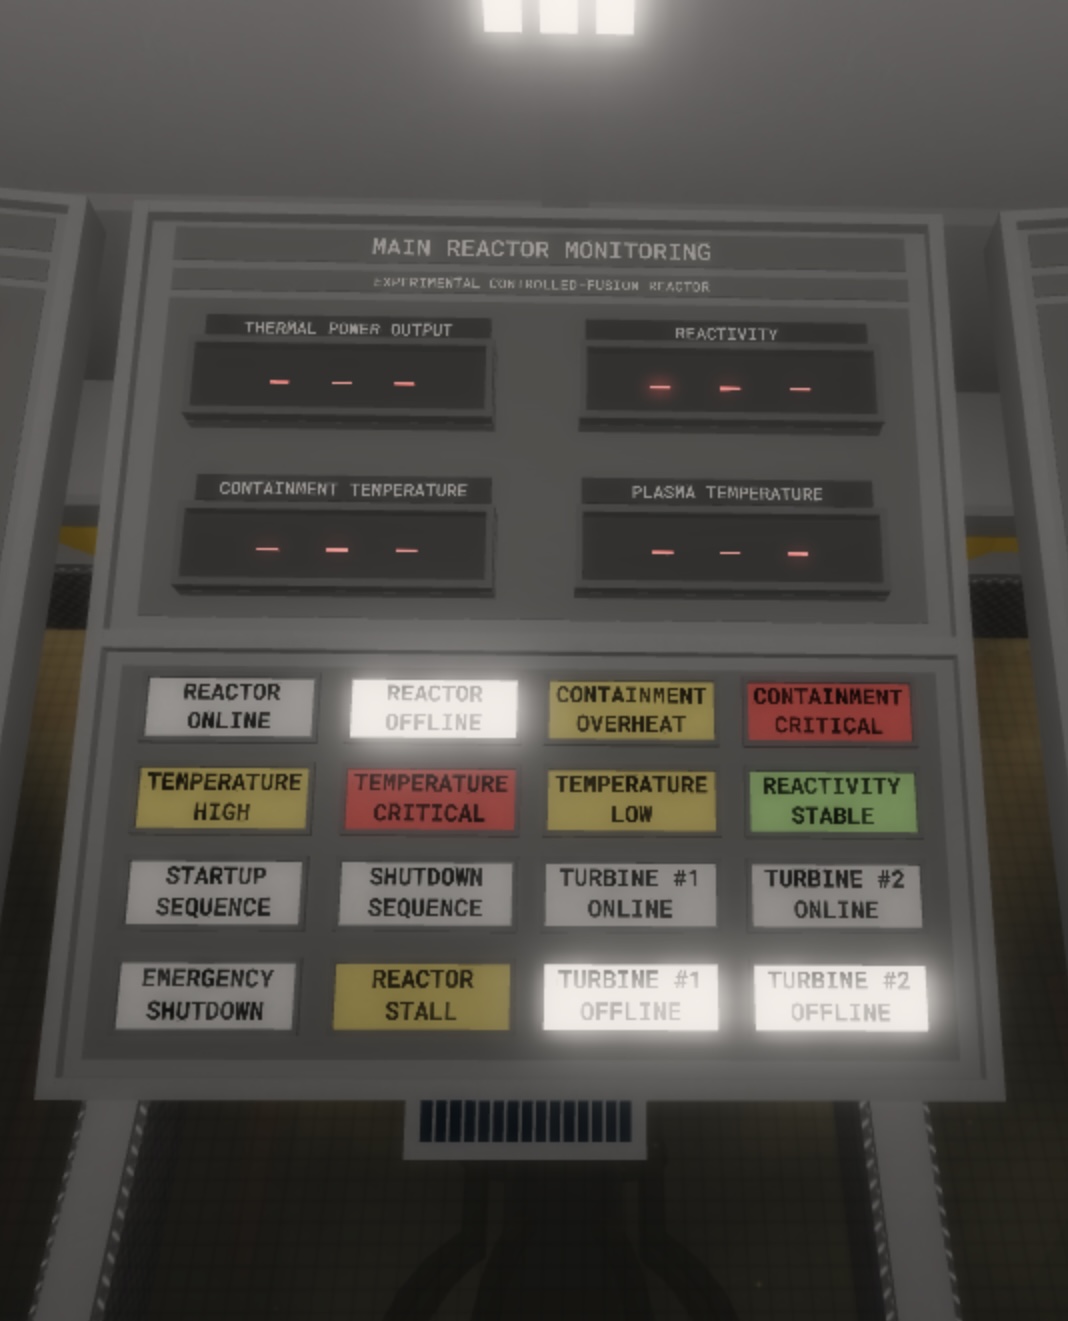
This is the ‘Main Reactor Monitoring’ board. This is the second of three of the main boards you need to keep an eye on whilst an RO. This shows you information about absolutely everything, and the main board of them all. It shows Thermal Power Output, Containment Temperature, Reactivity and Plasma Temperature (may vary depending on the reactor). Similar to all of the boards, flashing lights on the bottom give you crucial information too.
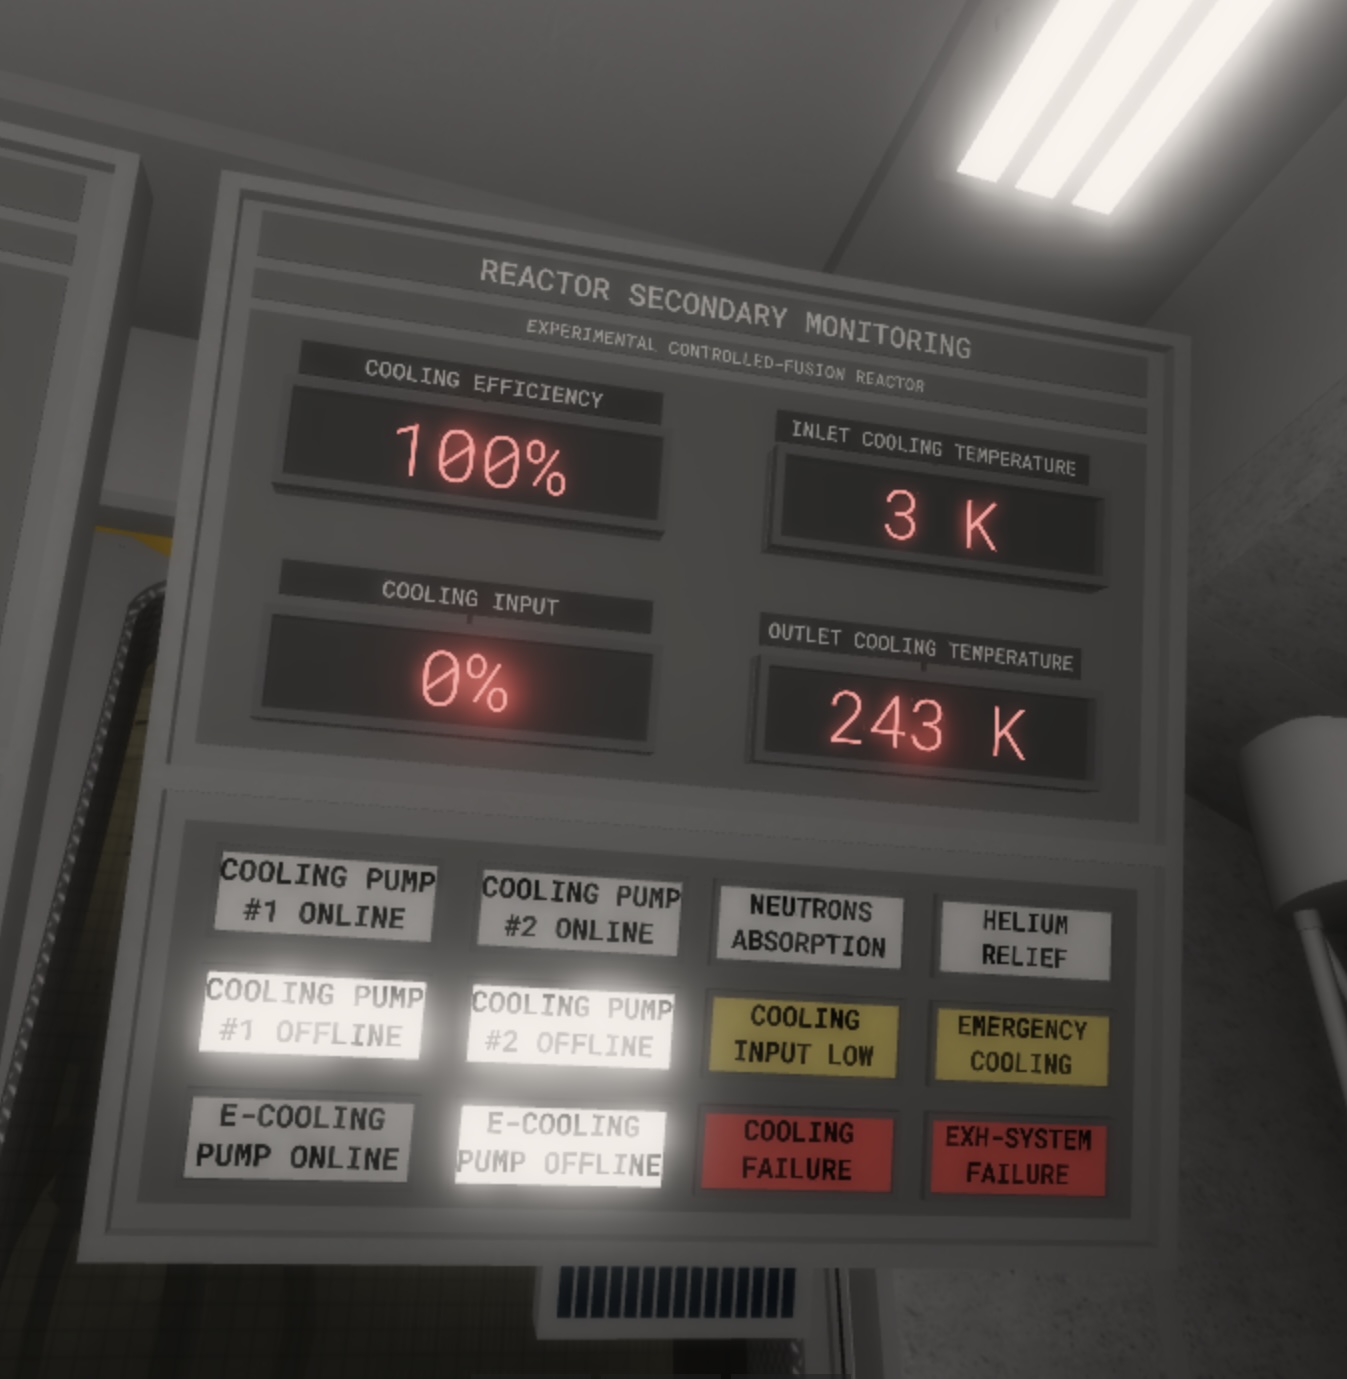
This is the ‘Reactor Secondary Monitoring’ board. This is the third of three of the main boards you need to keep an eye on whilst an RO. This usually shows information about the coolant. It shows Coolant Efficency, Coolant Input, Inlet Cooling Temperature and the Outlet Cooling Temperature. Also, there are flashing lights on the bottom which shows you further cooling information.
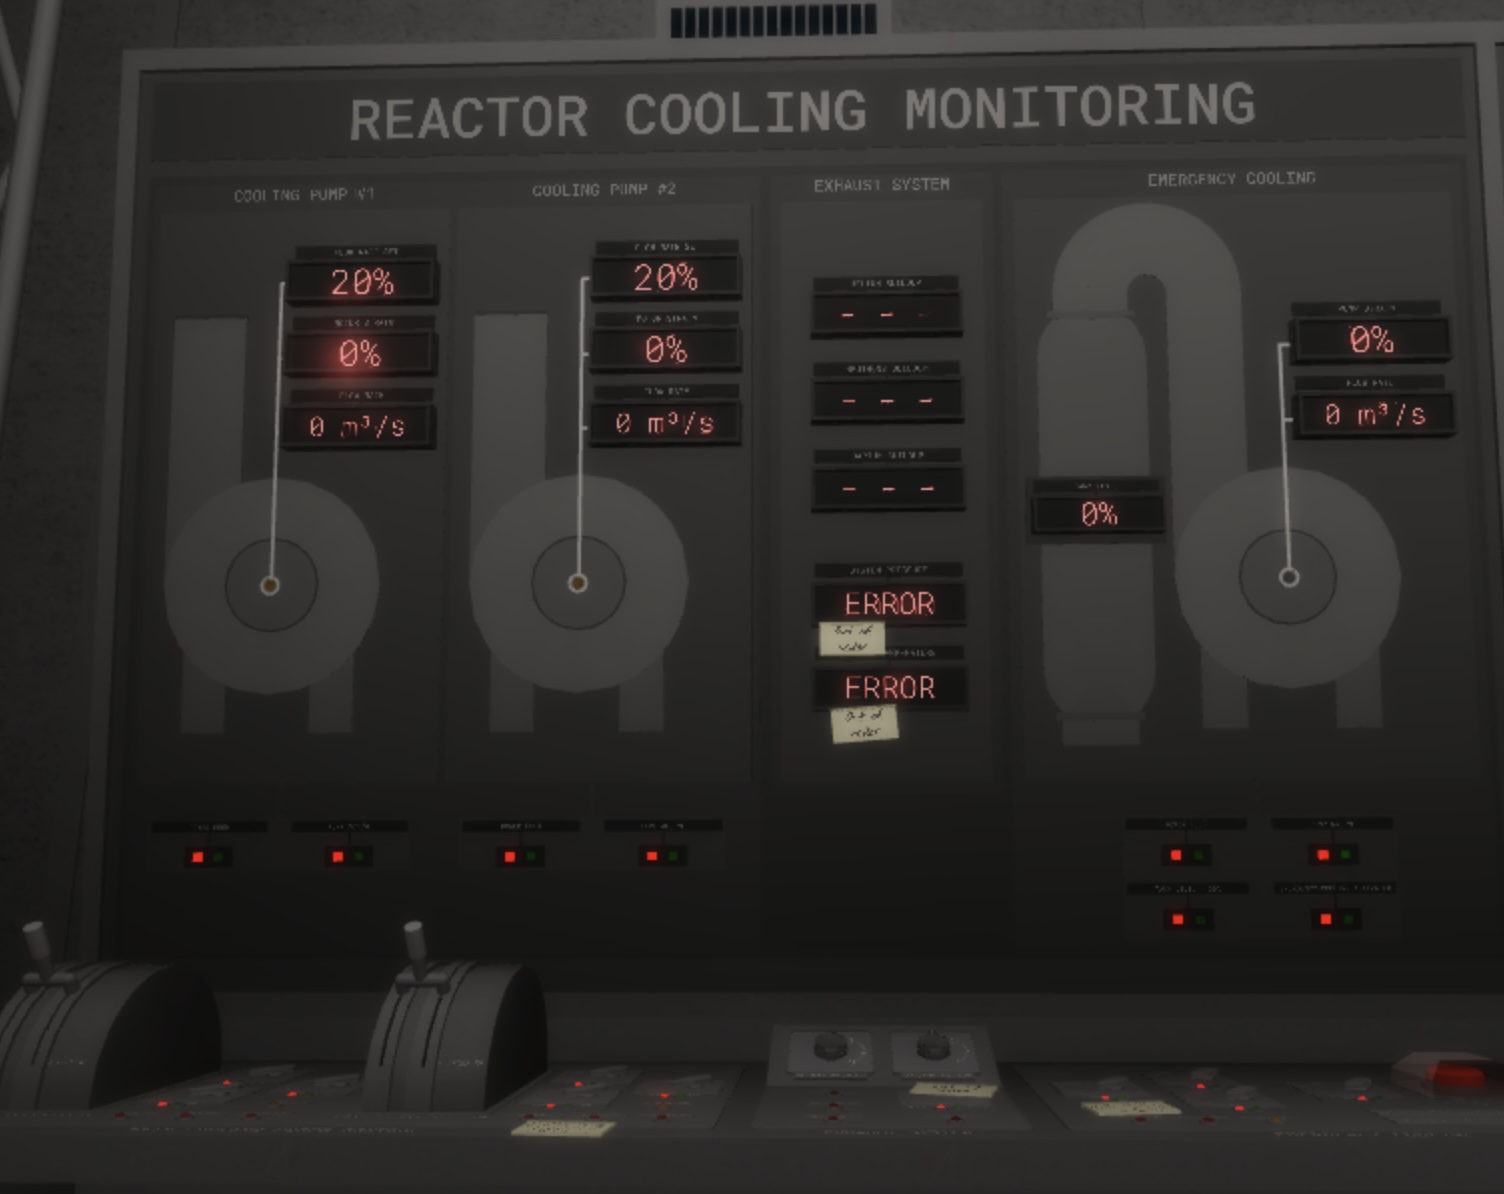
This is the ‘Reactor Cooling Monitoring’ board. Similar to the ‘Reactor Secondary Monitoring Board’, this shows you coolant information. Also includes E-Coolant and Coolant controls (along the bottom). It is also important to keep an eye on this whilst an RO, as flashing lights on this board indicate problems cooling the reactor.
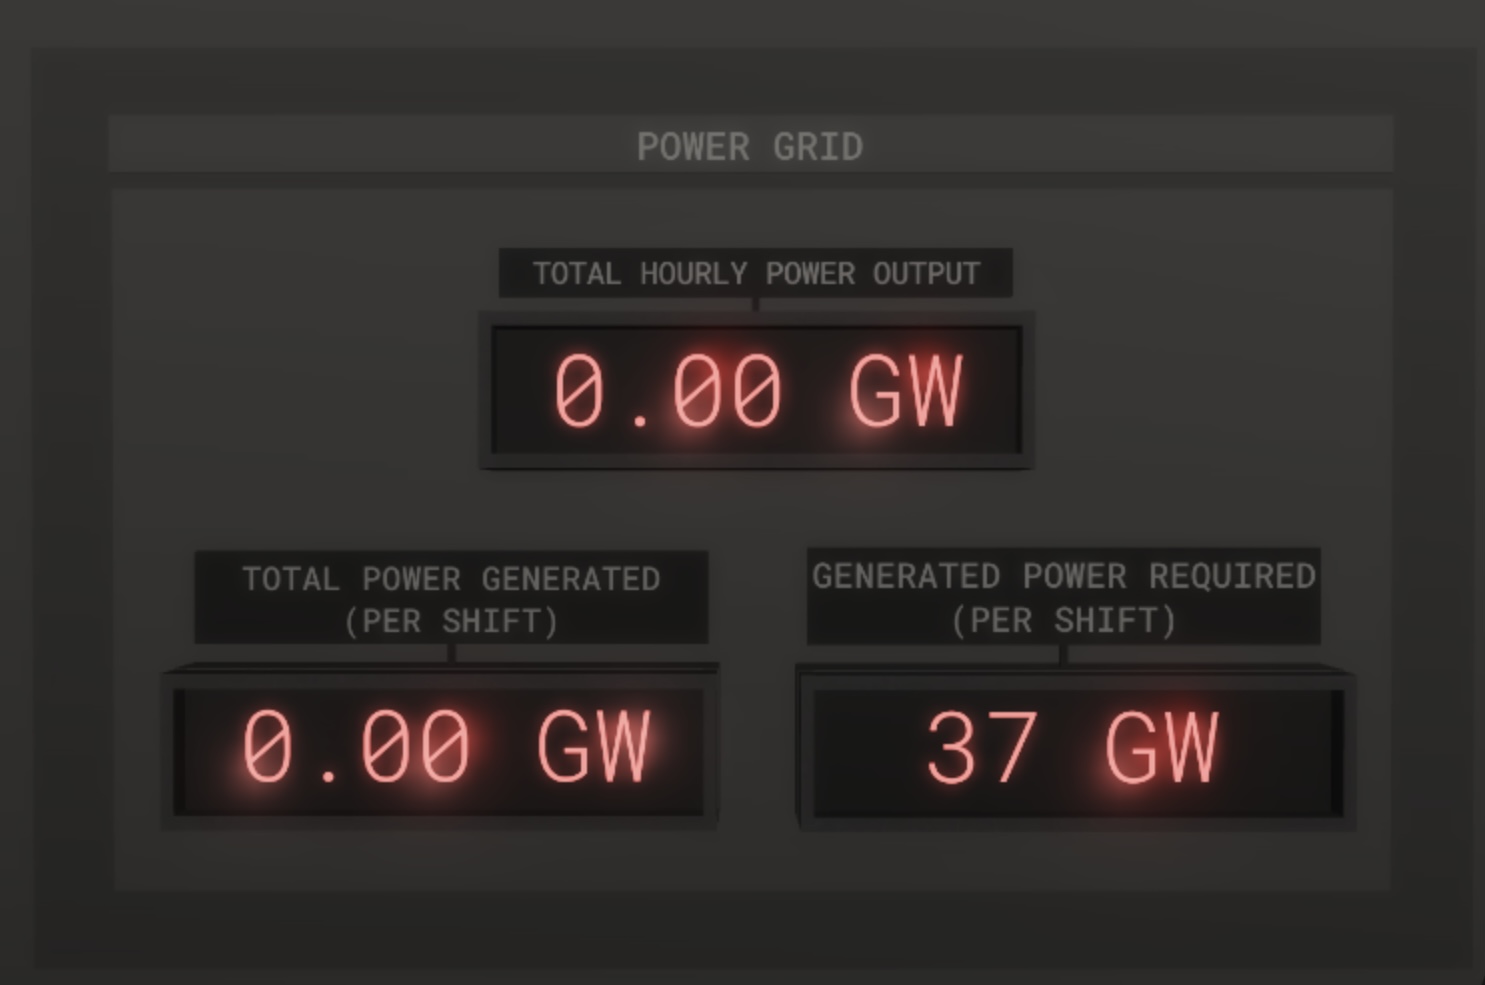
This is the ‘Power Grid’ board. Not a very important board, but this shows you information on the power you are producing (including how much you should produce in one shift, this is one of the 'tasks' that ROs should complete by the end of the night (example above shows 37GW).
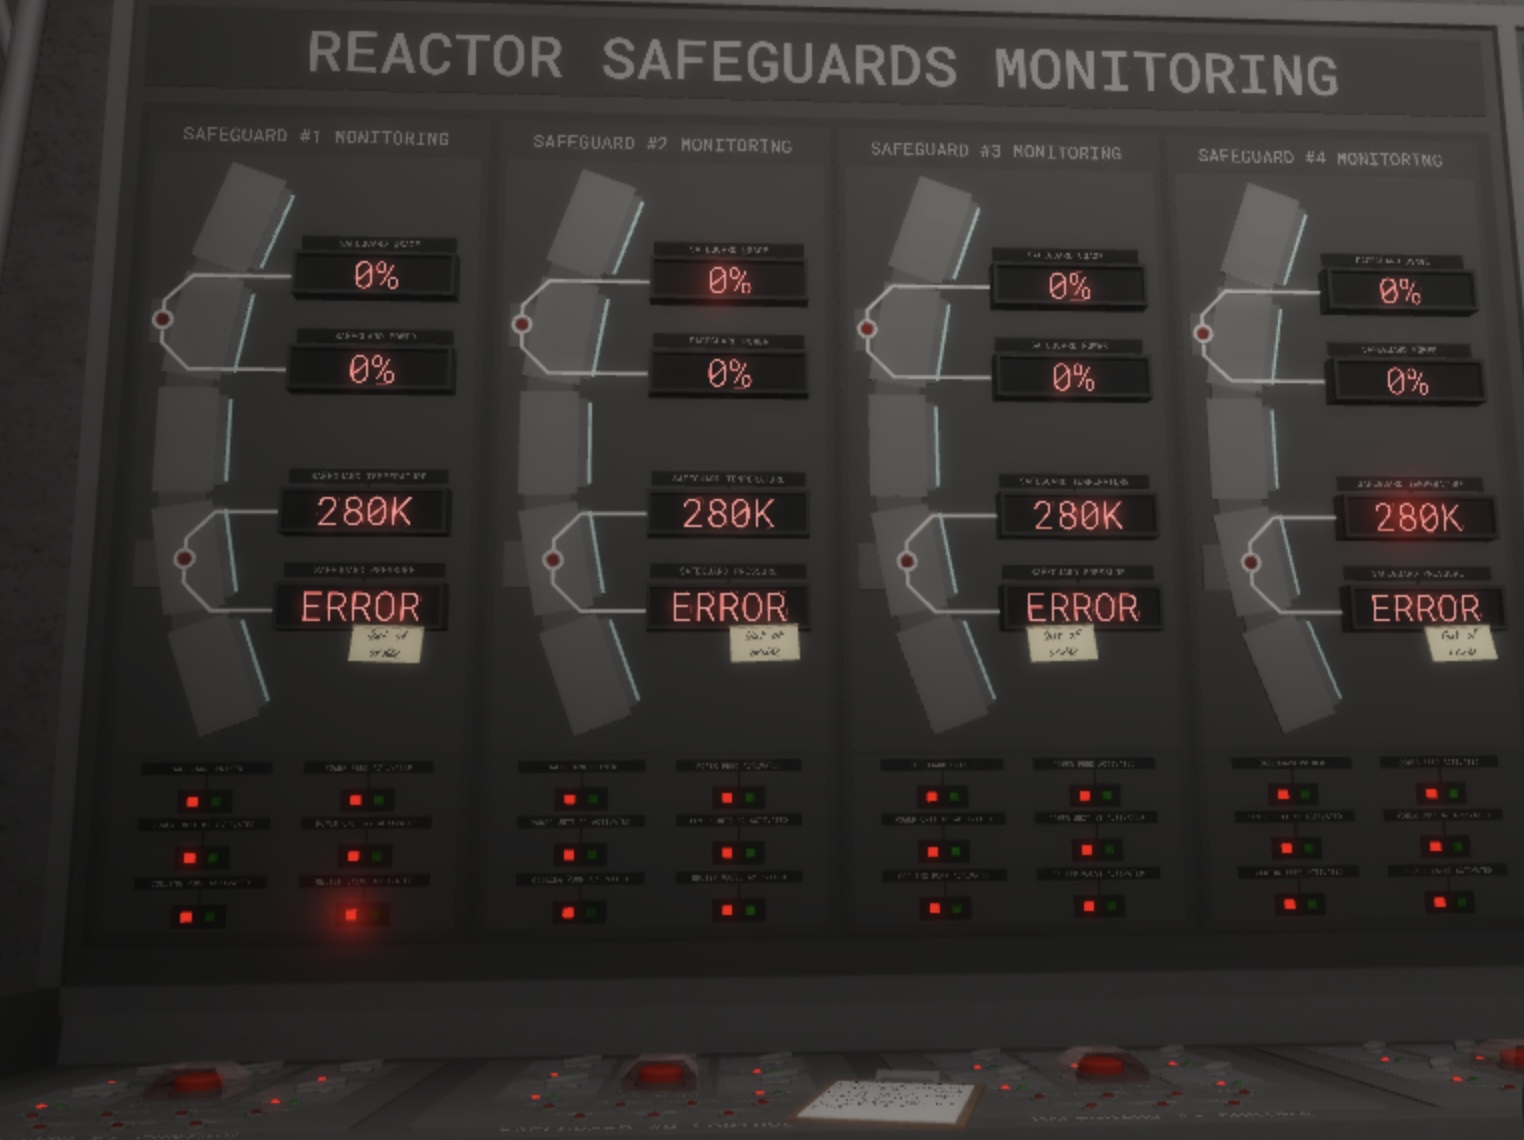
This is the 'Reactor Safeguard Monitoring' board. Not very useful as you can see issues with the safeguards and see if they're being strained or used too much on the main boards. Shows you information about each of the safeguards.
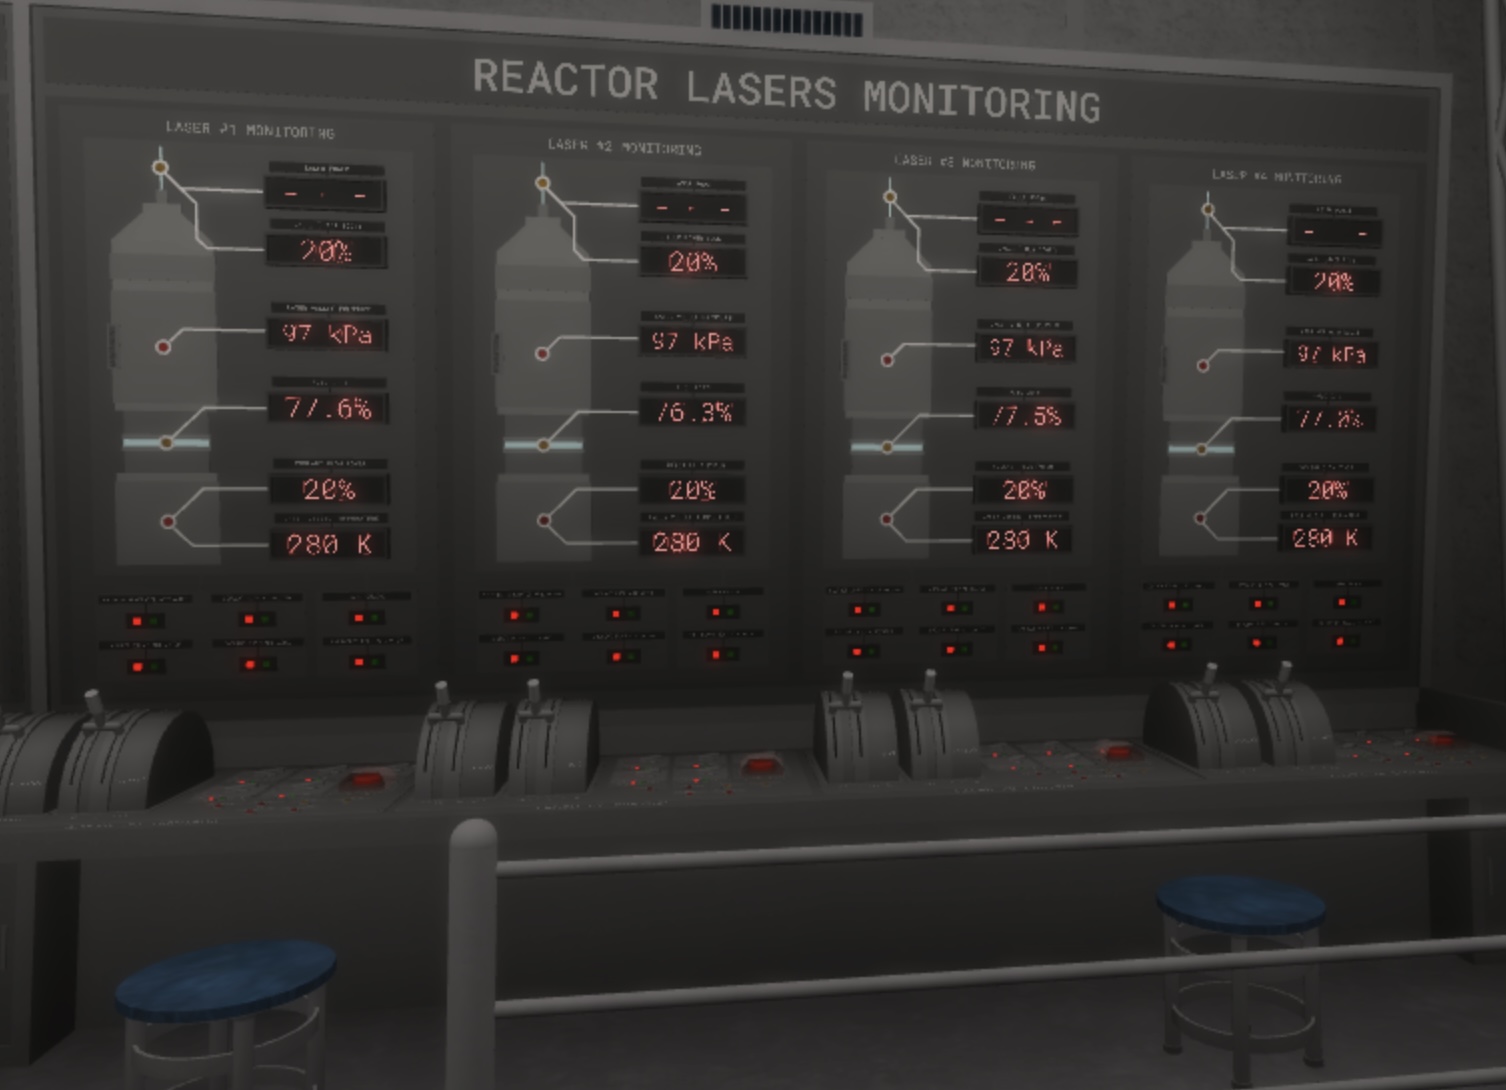
These are the ‘Turbines’. There are two and often accessible using an elevator or stairs. These must be kept switched on at all times, and should be swtiched on before 12am/pm for the Reactor Startup Protocol. It can be turned on by flicking the switch on the left hand side.
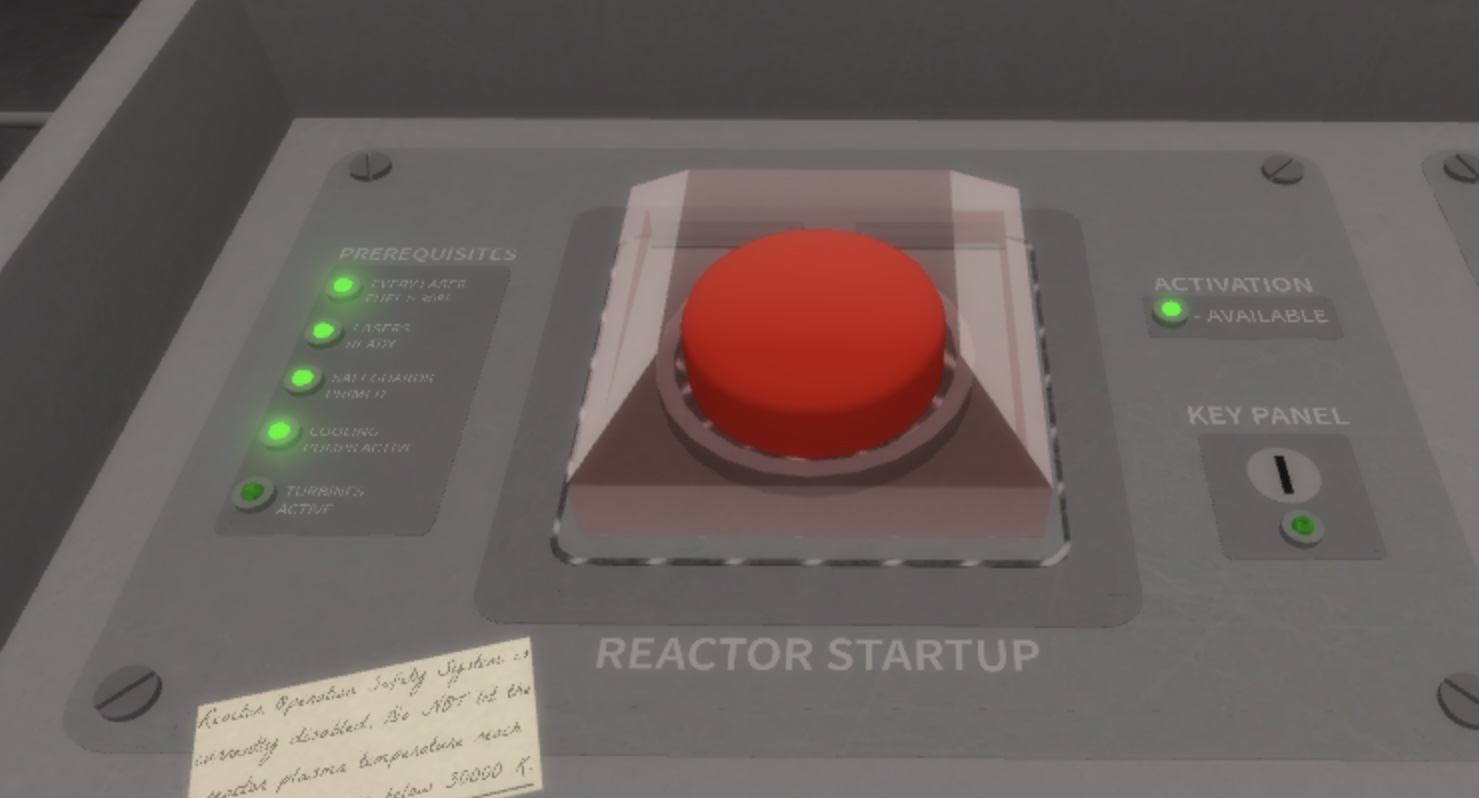
This is the ‘Raector Startup’ control panel. This panel is only used once before 12am/pm (or twice if Reactor Lasers need refueling), during one shift. There are 5 Prerequisites as follows:
> All lasers fuel above 30%
> All lasers prepared
> All safeguards primed
> Cooling Pumps active
> and Turbines Actives.
A key needs to be inserted (obtainable from the outside of the Reactor Control room) to allow this to happen, too.
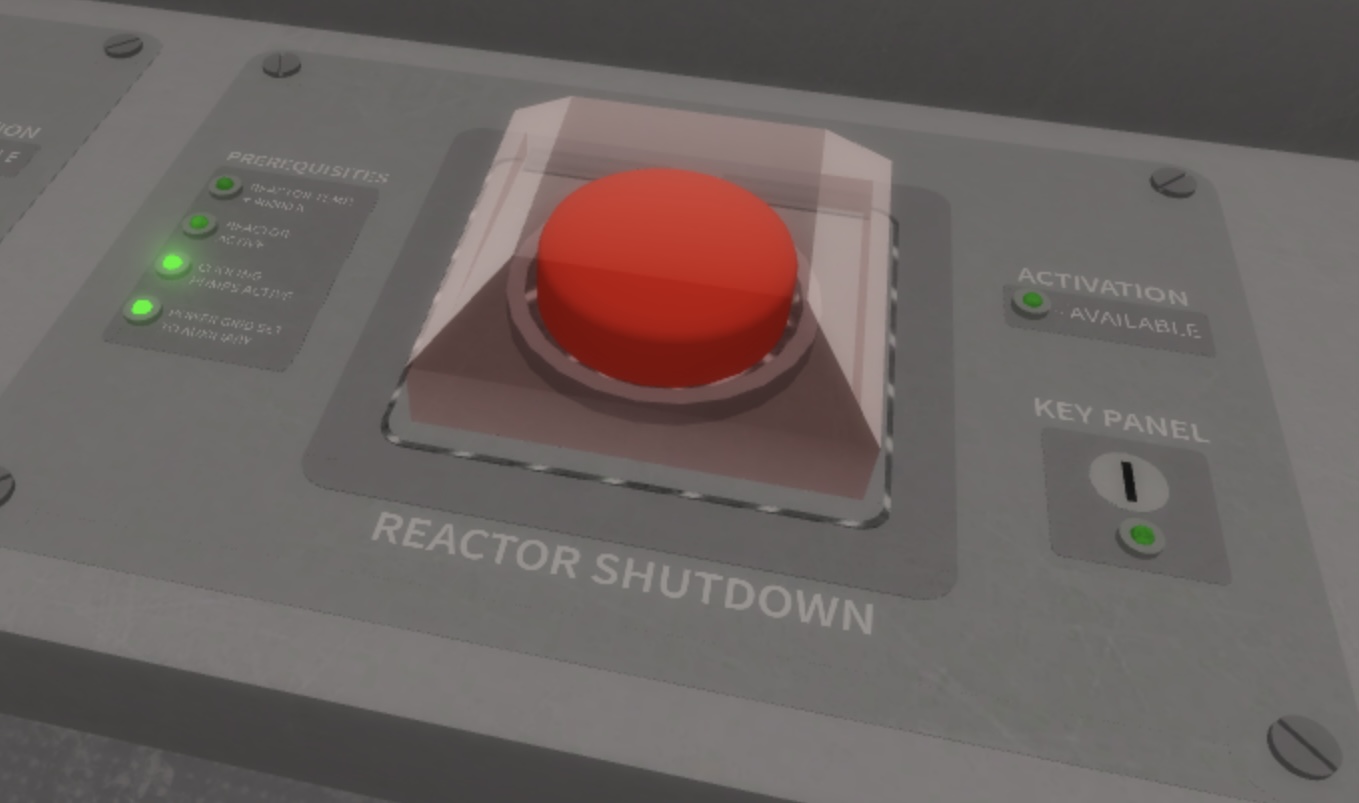
This is the ‘Reactor Shutdown’ control panel. This should only be used once during one shift after 6:00pm/am. There are 4 Prerequisites as follows:
> Reactor Temperature under 40000 K
> Reactor Active/Online
> Cooling Pumps active
> and Power Grid set to Auxiliary.
A key (obtainable from either the Reactor Head Supervisor or the sector office) to allow this to happen, too.
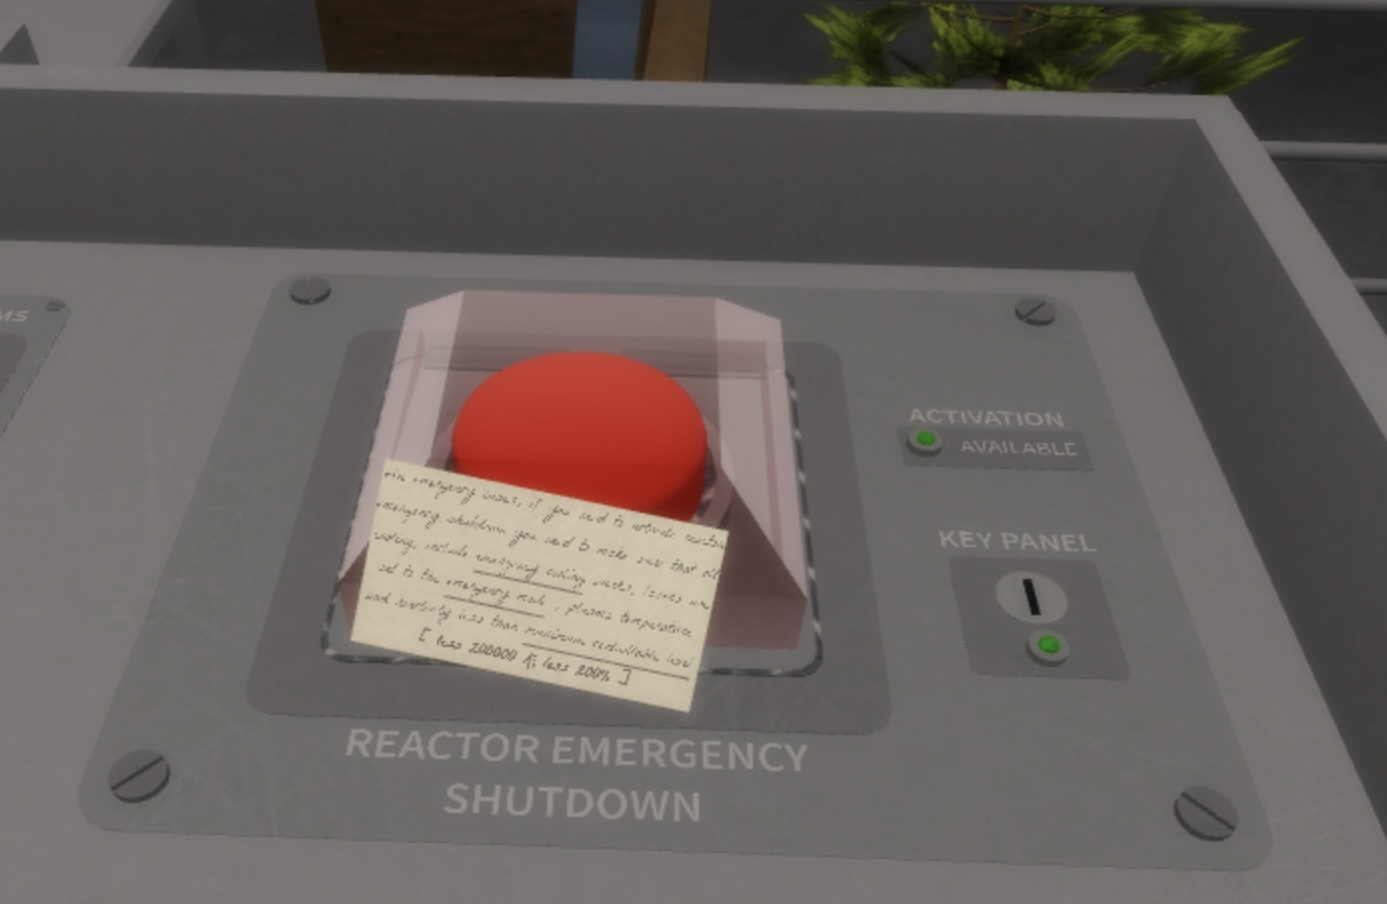
This is the ‘Emergency Reactor Shutdown’ control panel. This should only be used in Emergency Cases and when it is avaliable, the green light (on the right), should show.
These are the ‘Laser Control’ panels. There are usually 4 of these, which links up to one of the 4 lasers. There is two levers, the Power Boost, and the Coolant Flow. You can Increase (move to the top), Decrease (move to the bottom) and Stop Increasing/Decreasing (move to middle). There are also 5 switches, the Cooling Pump, the Neutron Generator, the Coolant Loop, the Relief Valve and the Emergency Mode. Finally, there’s also the Emergency Shutdown Button.
Picture 5- Zoomed in Laser 4 Controls
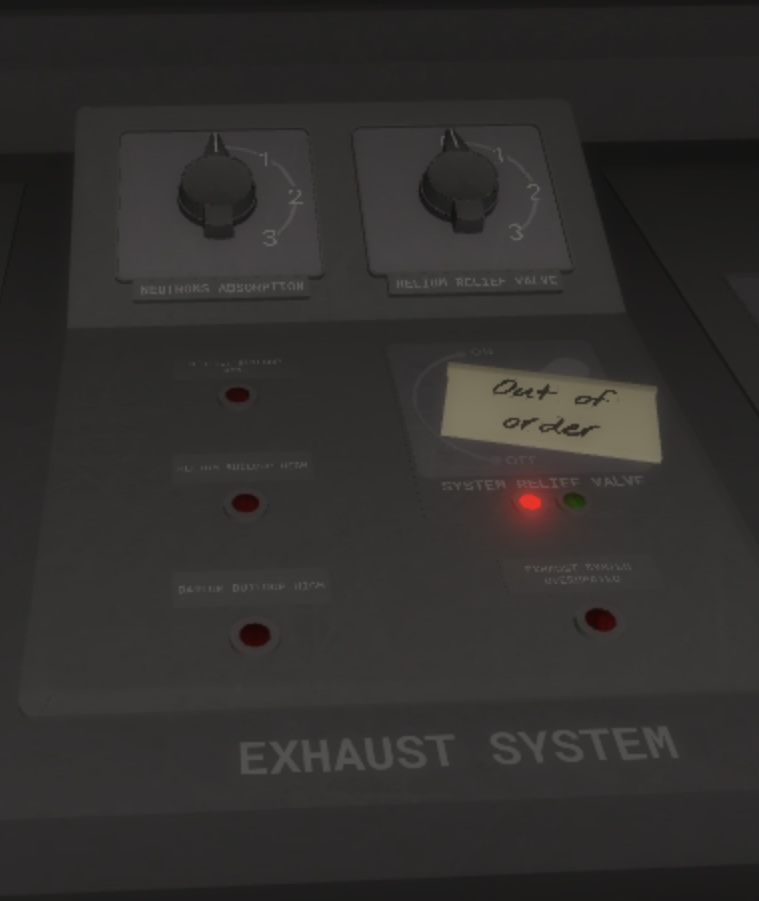
This is the ‘Exhaust System’ control panel. This has two controls (at the top with 4 settings, 0 being the lowest and 3 being the highest), the Neutrons Absorption and the Helium Relief Valve. Also features 4 lights that flash when there is an issue. They are:
> Neutron Buildup High
> Helium Buildup High
> Barium Buildup High
> and Exaust System Overheated.
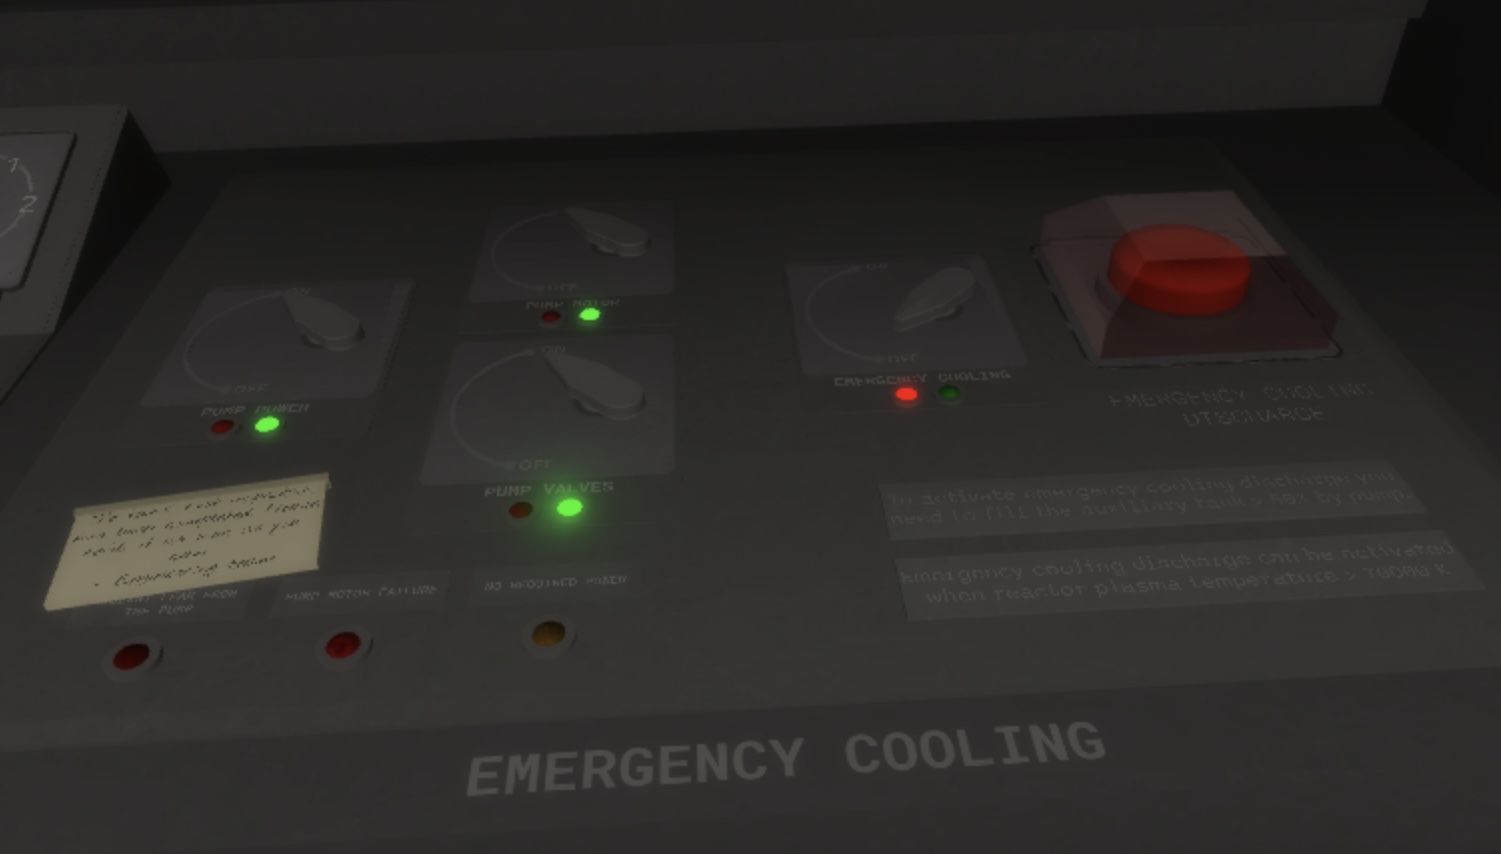
This is the ‘Emergency Coolant’ control panel. This is used to control the E-Coolant tank, whether or not it should be filled, and when it should be used. It cannot be used in non-emergency cases but it is important that ROs start to fill the tank as soon as the reactor is online, so it can be used in emergencies.
There are four switches, Pump Power, Pump Motor, Pump Valves and Emergency Cooling. All of the first three must be activated to start filling the tank.
Finally, there are also three lights that flash when there is an issue. They are:
> Coolant Leak from the Pump
> Pump Motor Failing
> and No Required Power.
When the lights flash (which isn’t often), indicates a serious problem with the E-Coolant, and could mean the E-Coolant cannot be used.
These are the 'Main Coolant Control' panels. Very simple, yet very important to Reactor Operation. There is the main lever (on both coolant pumps), similar to the lasers, which is used to Increase the Coolant (move to the top), Decrease the Coolant (move to the bottom) and Stop Increasing/Decreasing (move to the middle).
The coolant is, obviously, used to maintain core temperature, and when needed, cool it.
There are three switches per coolant pump, which are the Pump (#X) Valves, Pump (#X) Motor and Pump (#X) Power. The first two are required for the pump to run (which can be turned on using Pump (#X) Power).
Finally, there are 4 lights that light up when there is an issue. They are:
> Coolant Leak Detected
> Motor Failing
> Motor Strain High (also comes up in the middle of the Coolant Pump Board)
> and No Required Power.

This is the 'Reactor Operator Uniform'. This may differ facility to facility, but they are all similar.
Scientists and other Staff Members may have different uniforms.

This is a 'Reactor Operator Hazmat Suit'. This should only be used in the Reactor. This is very similar to the Scientst Hazmat Suit, but this has the letters 'RO' on the side.
These are the 'Reactor Safeguard Control' panels. There are usually 4 of them. Safeguards are used to keep the reactor in check, and stop it from becoming too unstable. They can fail from time to time however, as they are active from the point the reactor goes online to the point it is switched off.
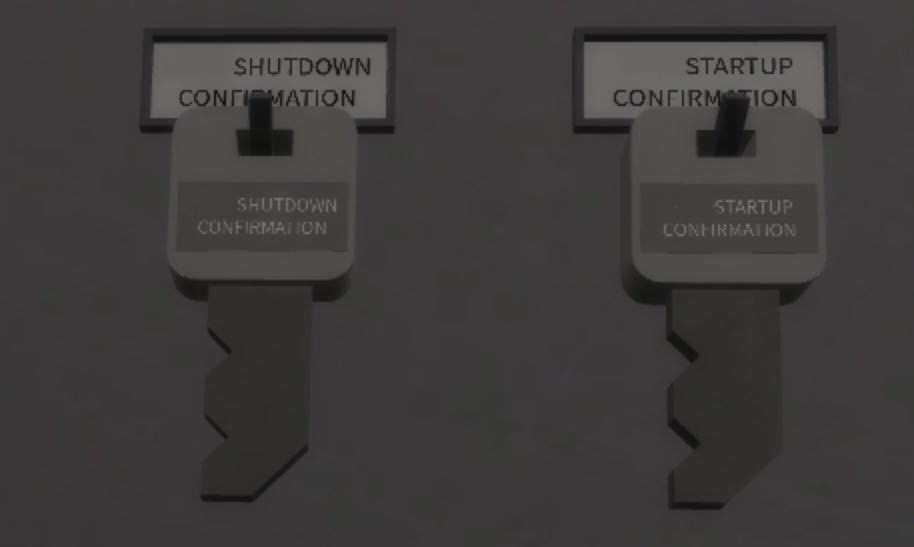
These are the ‘Reactor Startup/Shutdown Confirmation Keys’. These are required for the Reactor Startup/Shutdown procedure, and are avaliable from outside of the Reactor Operating Room or from the Head Reactor Supervisor.
Other Equipment, Uniform and Machinery
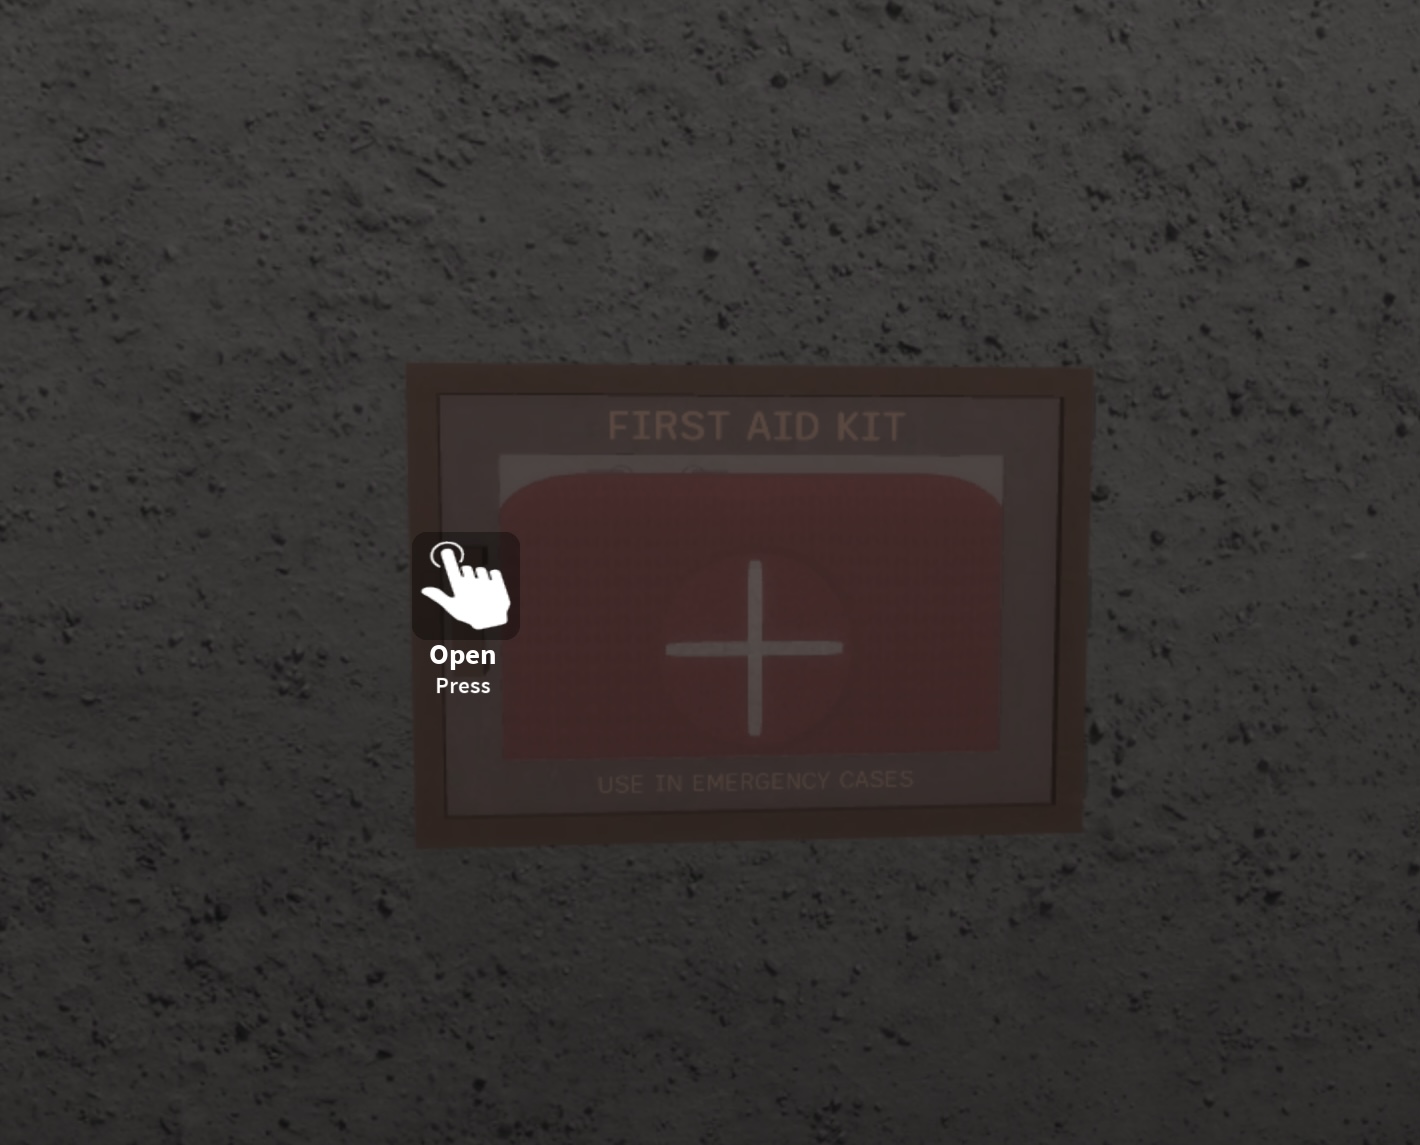
This is a ‘First Aid Kit’. Very simple. Inside, there are multiple items that can help during Medical Emergencies. Punishments apply if staff steal or wrongfully open a First Aid Kit.
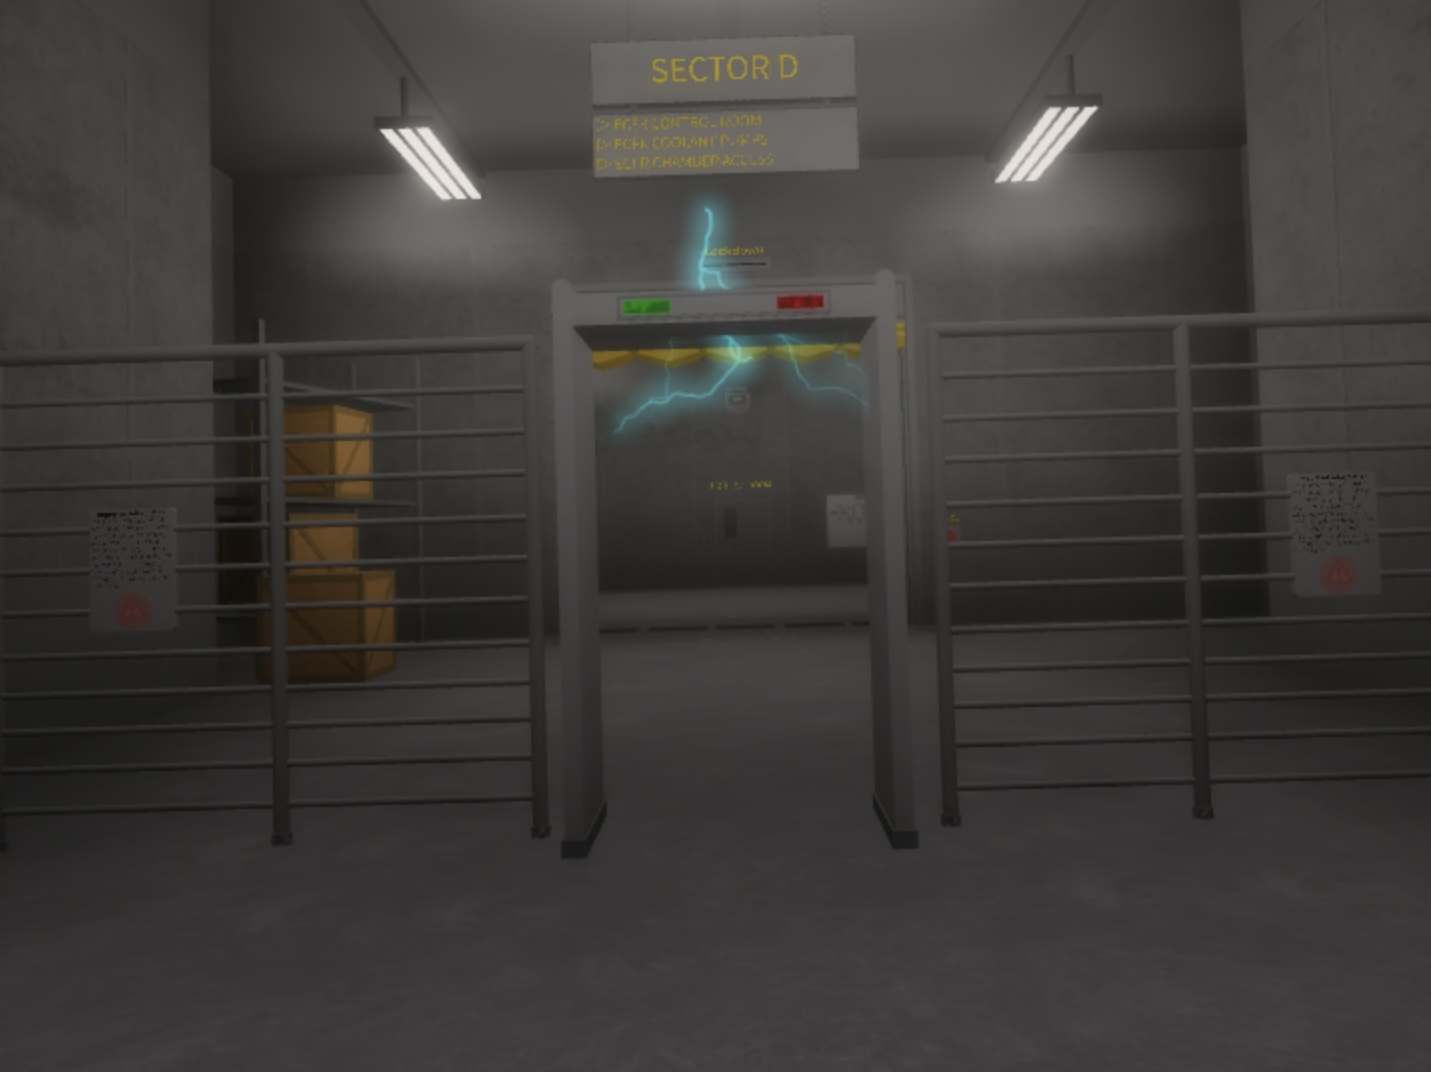
This is a ‘Metal Detector’ or ‘Scanner’. Ran by members of the Security Team. These help stop raids or unauthorised items (such as guns or knives) from being undetected. All staff go through at least one every shift.
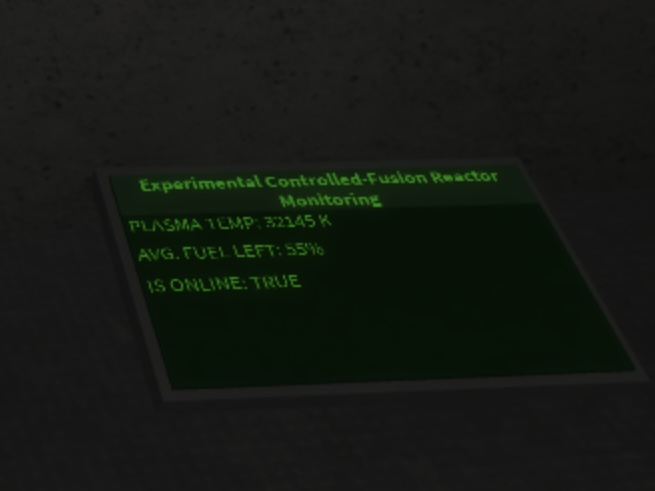
This is a ‘Portable Reactor Monitoring Tablet’. Only given to ROs or other important members of staff. Shows the Temperature (top), Average Fuel (middle), and the Reactor Online Status (bottom).
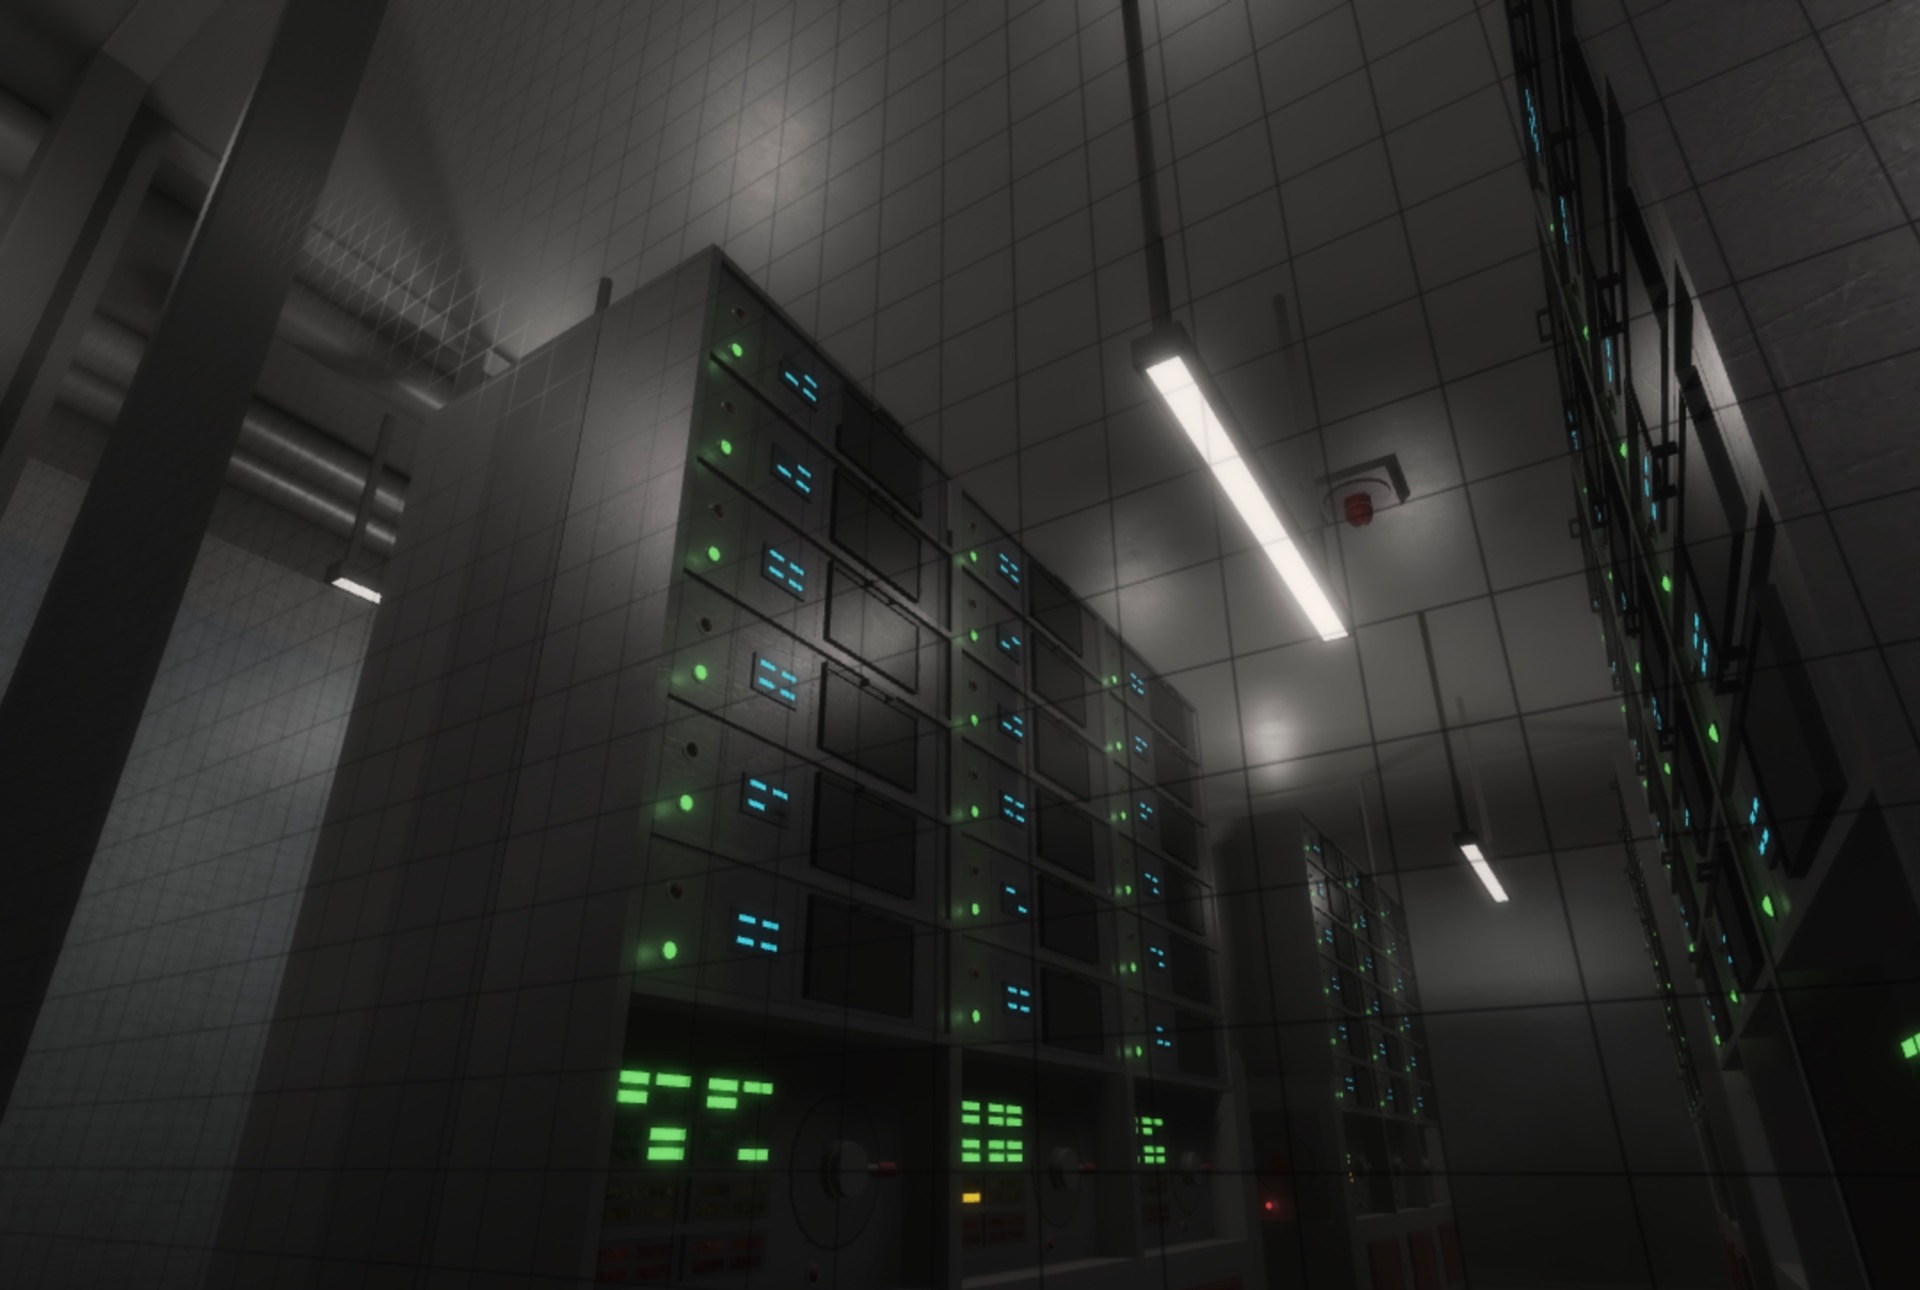
These are the ‘Servers’. Responsible for all of the Reactor Monitoring Equipment, Computers and, basically everything online. Only accessible to Engineers and important staff members.
Very secure (unless they aren’t).
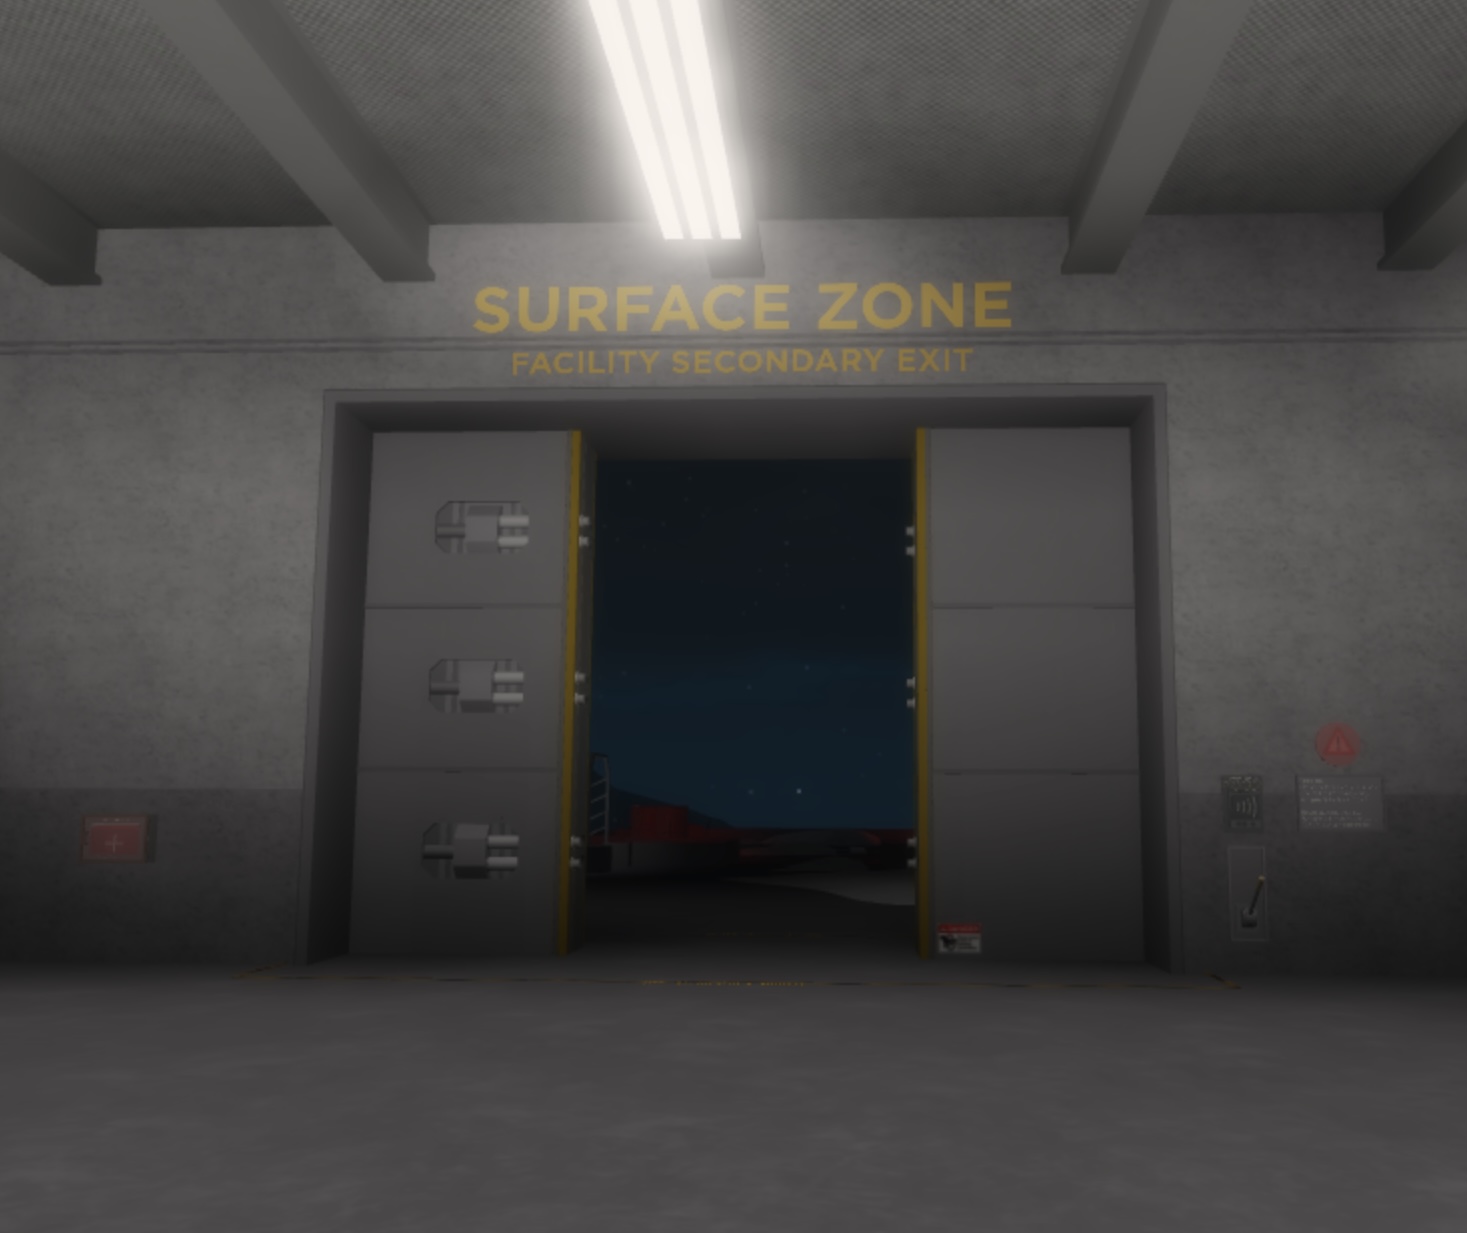
This is a ‘Secure Door’. There are only a few scattered around facilities in secure areas and the Cargo Bays (located in the one connecting straight to the outside only, if the facilitiy has two).
Can be locked down by Security or important staff members when needed.
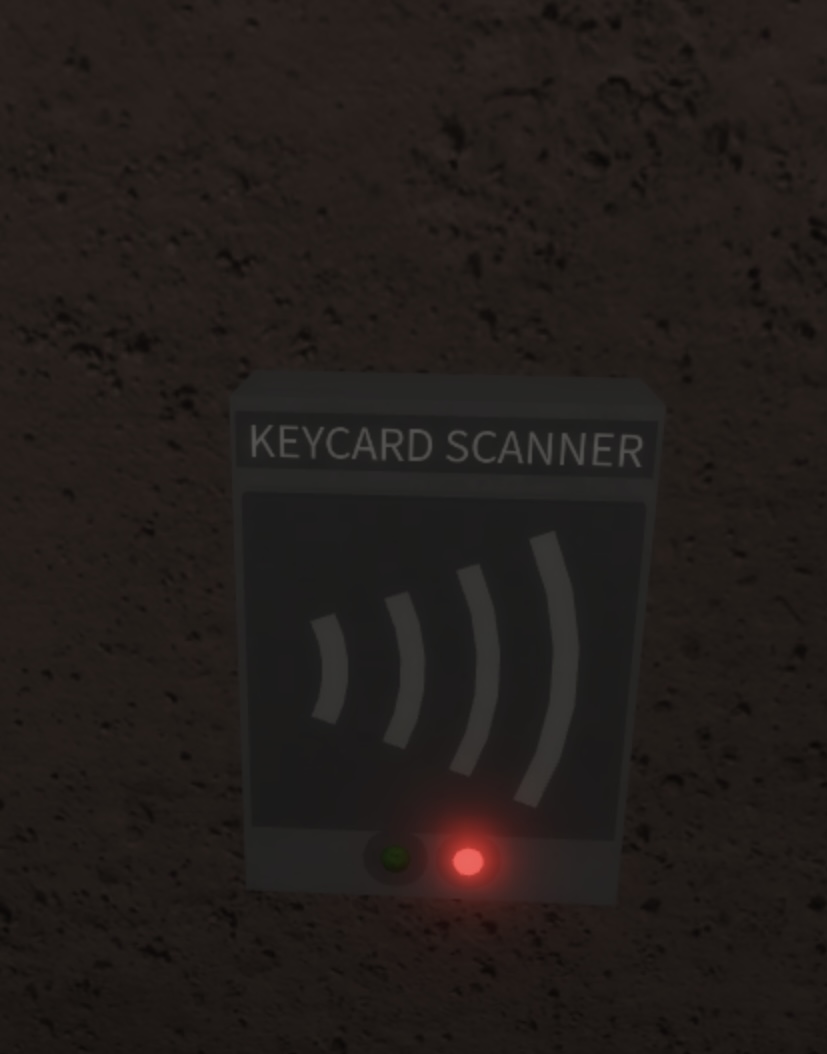
This is a ‘Keycard Scanner’. Located at many different points across the facility, they help protect unauthorised people or visitors accessing things they shouldn’t.
You can see these on doors and some panels as a confirmation.
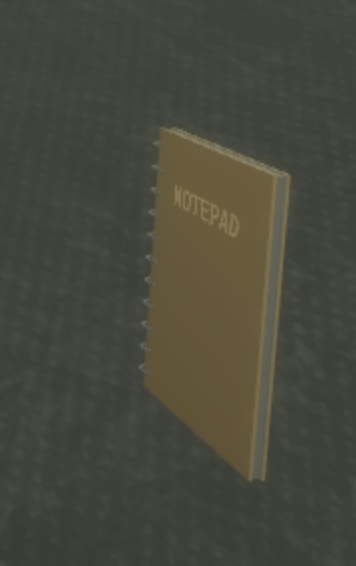
Guess what! This is a ‘Notebook’. Given to all employees at the start of their first shift every week (or every fortnight depending on the facility), and they are advised to write in the notebook regularly.
You are also given a high-quality pen every month (if it runs out you can get a new one from Employee Enquiries).
This is an ‘Airlock’. There are mainly two or three (sometimes four) in most facilities. You require a Hazmat Suit to go through the airlock (at some airlocks security is there).
There are two buttons on the inside. One for you to go the other way, and the other for someone else to go back the way you came. There is also a ‘Call’ button, which activates the airlock to open on your side. In case of emergencies, the ‘Emergency Airlock Deactivation’ button can be pressed on the outside, which opens both doors of the airlock.
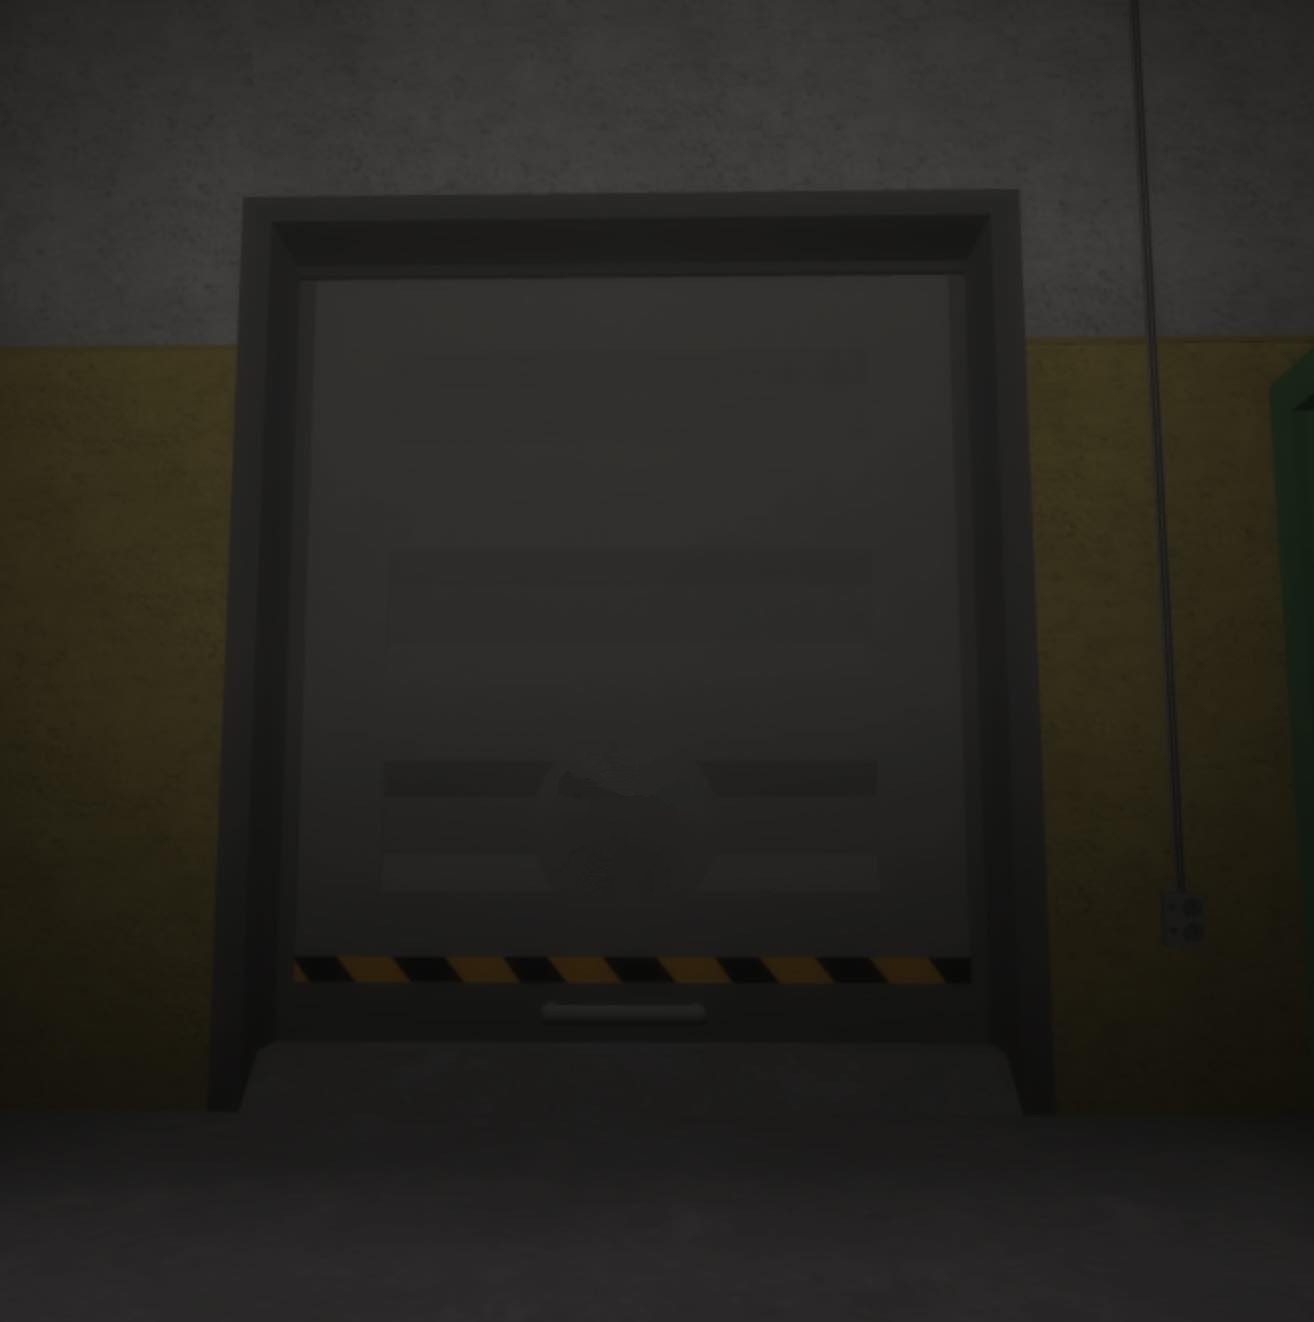
This is a ‘Non-Secure Mechanical Door’. You can see these mainly in the Cargo and Shipment Sector, or Electricity and Power Sector. Does not require a key or a password to open.
These doors can be opened by using two buttons on the left or right hand side. One button is to open the door, and one button is to close the door.
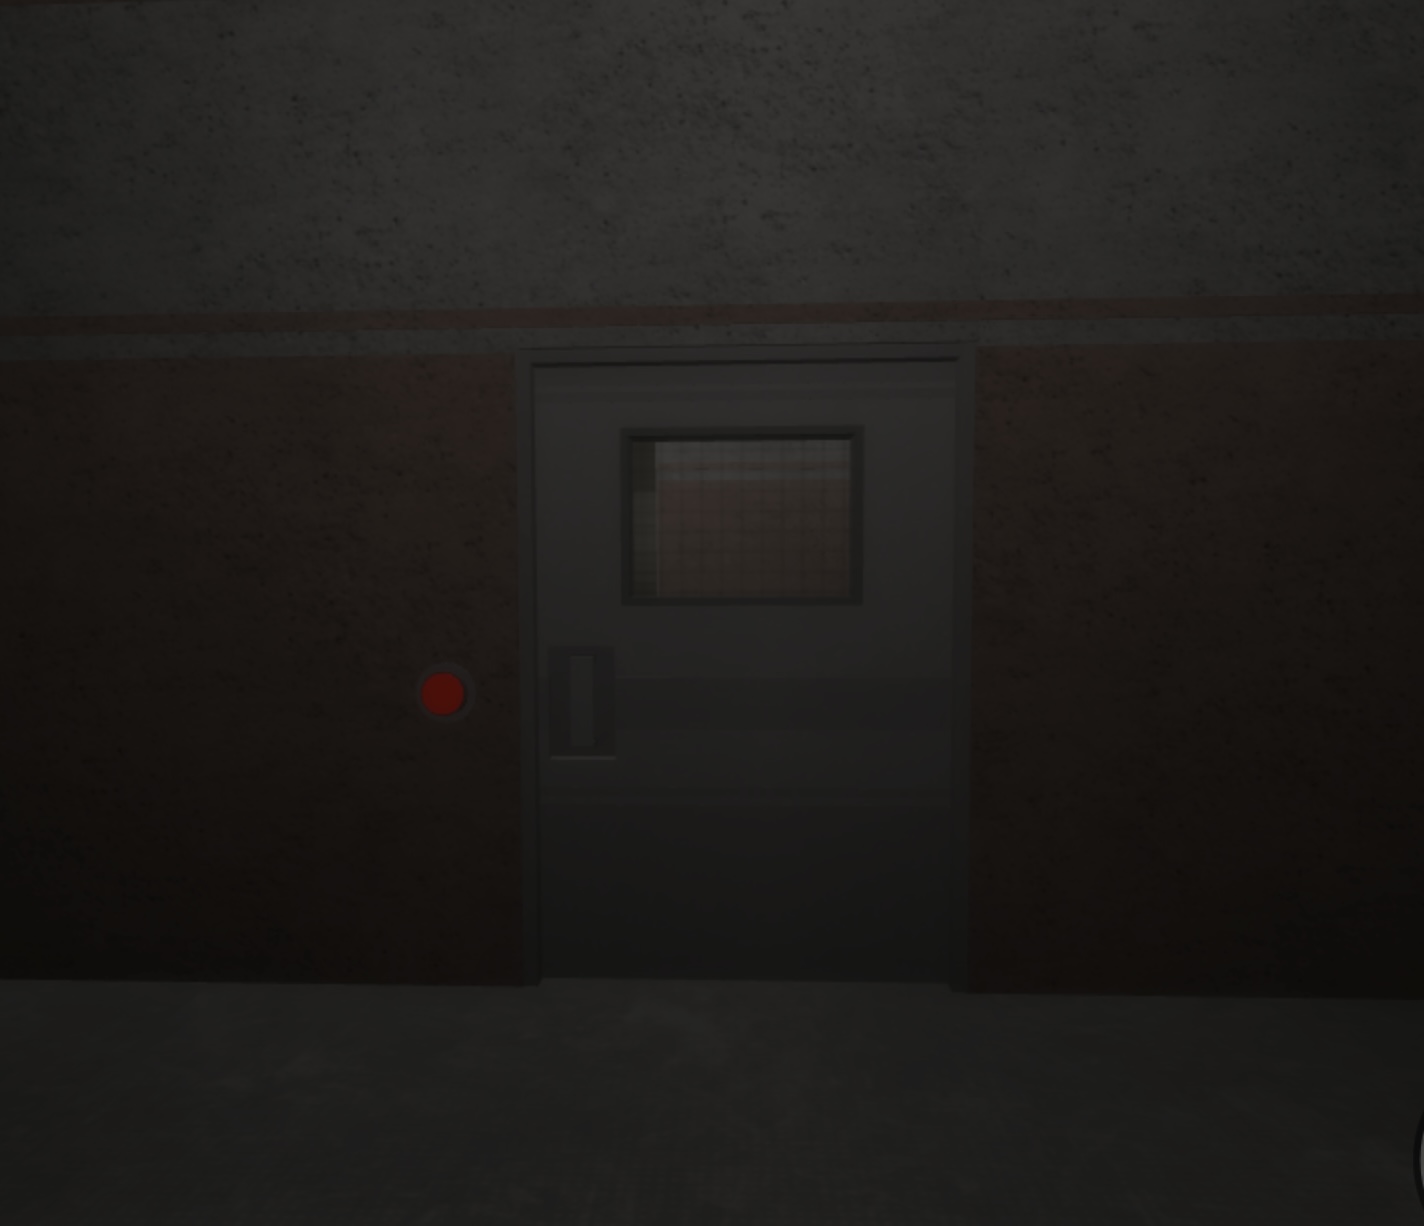
This is a ‘Non-Secure Button Activated Door’. This door does not require a key, or a password to open.
This is similar to the ‘Mechanical Door’, but is opened by only one button, which is located on the left or right hand side. This door is found in the Office Sector, sometimes in the Experimental Sector or even the Topside Sector.
This is a ‘Regular Door’. Found in all sectors. There are two types:
> Non-Secure
> and Keycard Locked
You require a keycard (most keycard scanners are Employee Keycards) for the Keycard Locked Door. If you don’t you cannot open the door. Most doors across the facility are this type, but some are Non-Secure, and don’t require a keycard to open.

This is the ‘Engineer Uniform’. All Engineers wear this uniform (may vary from staff members and facilities, but they are mostly the same). There is also a Janitor Uniform, which is the Engineer Uniform but instead of orange, it is green (no picture :( ).

